Making Dovetailed Bolsters
I get asked quite a bit about my dovetailed bolster method. What I can say is, there are no short cuts to perfection, and out of all of the things I do that are knife related, I have gotten bolsters down pretty well.
One important thing to remember about bolsters, regardless of if you’re doing square edge, dovetails, or any other material, is that if you want to hide pins, you have to have like material stock. So, for nickel-silver for instance, which is what I did here, you’ll want nickel silver pins as well. BIG caveat here….So, you know that like material? Well guess what, not all nickel silver is created equally. Some alloys are different percentages. So you have a few options:
Pin and pray. This is where you take the same material in bolster stock and pin stock, and hope they match well.
Spin your own pins. This can be done in a drill press, mill, or lathe, and requires a caliper as well in order to match the diameter to your bolster holes. Also, you’ll want to make sure you use the same material as you will for the bolster, otherwise this tactic is wasted effort.
In this example I’ll use the pin and pray. I am not sure if I just pray so often that they’re answered, or maybe I have figured out some magical way, but I never have issues with my pins hiding. I think I have just been fortunate that the alloy has been very similar. I also don’t know as the bolsters patina, how they’ll look, so there’s always a chance I am not as clever as I think I may be. R&D will tell.
Preparing Materials
DISCLAIMER
Some of these images are out of order. The reason? I sometimes do things out of order, depending on what the material is telling me. Keep in mind that your own efficiency processes may lead you to do things a little different. I often have to knock off burs and other dings if I drop anything. Where I start and end up is the same, but the path to get there is anyone’s guess. Kind of like life, ain’t it?
I am using nickel-silver in this case, but you can apply this method to any metal you’d like to hide the pins on.
Firstly, having a square material is pretty essential to maintaining tight tolerances on the geometry of dovetail bolsters. You can accomplish this squaring a lot of different ways, but I use a machinist square, and my disc grinder. Just check on all four surfaces and ensure there are no gaps.
Also, flattening your material is essential, as your fit and finish of your bolsters are greatly effected by gaps. I hold the tang and bolster piece up to the light, and if there is any gaps, they’ll show.
Sometimes due to the milling process, there will be a more flat side to your bar stock. Pick the side that has the least bow to it, and flatten that. I use a machinist block and Indasa’s Rhynowet that I get from Texas Farrier Supply, and in a circular motion, knock off all of the high spots. The lower in the grit you start, the easier it is, but remember that you’ll have to remove those lower grit scratches until you don’t see any light. In this case, if I started at 100 grit, I may see some small gaps if I left it at just that. Your mileage will vary, but always keep the removal of previous grit scratches in mind when working with metals.
Remember to cut your material to the width you need it, based on the pin holes you drilled in the tang. It’s important to remember to cut your material to account for the angle of the bolster top, and dovetail, as you don’t want your pins to interfere with the angles you put on the top and bottom, as peening will deform them and you’ll have an almost impossible time making your flats flat again. Leave room on either side of the pin to accommodate your bevels, plus a little extra. I’d give you measurements, but this is an aesthetic choice at the point after you have enough for your pins.
I also make the piece long enough that I can do all of the angles, and then cut in two pieces, so they are exactly the same plane. This is a lot easier than doing this process 2x, and then having mismatched angles. Just do it all at once and save yourself headache. It’ll also look really uniform.
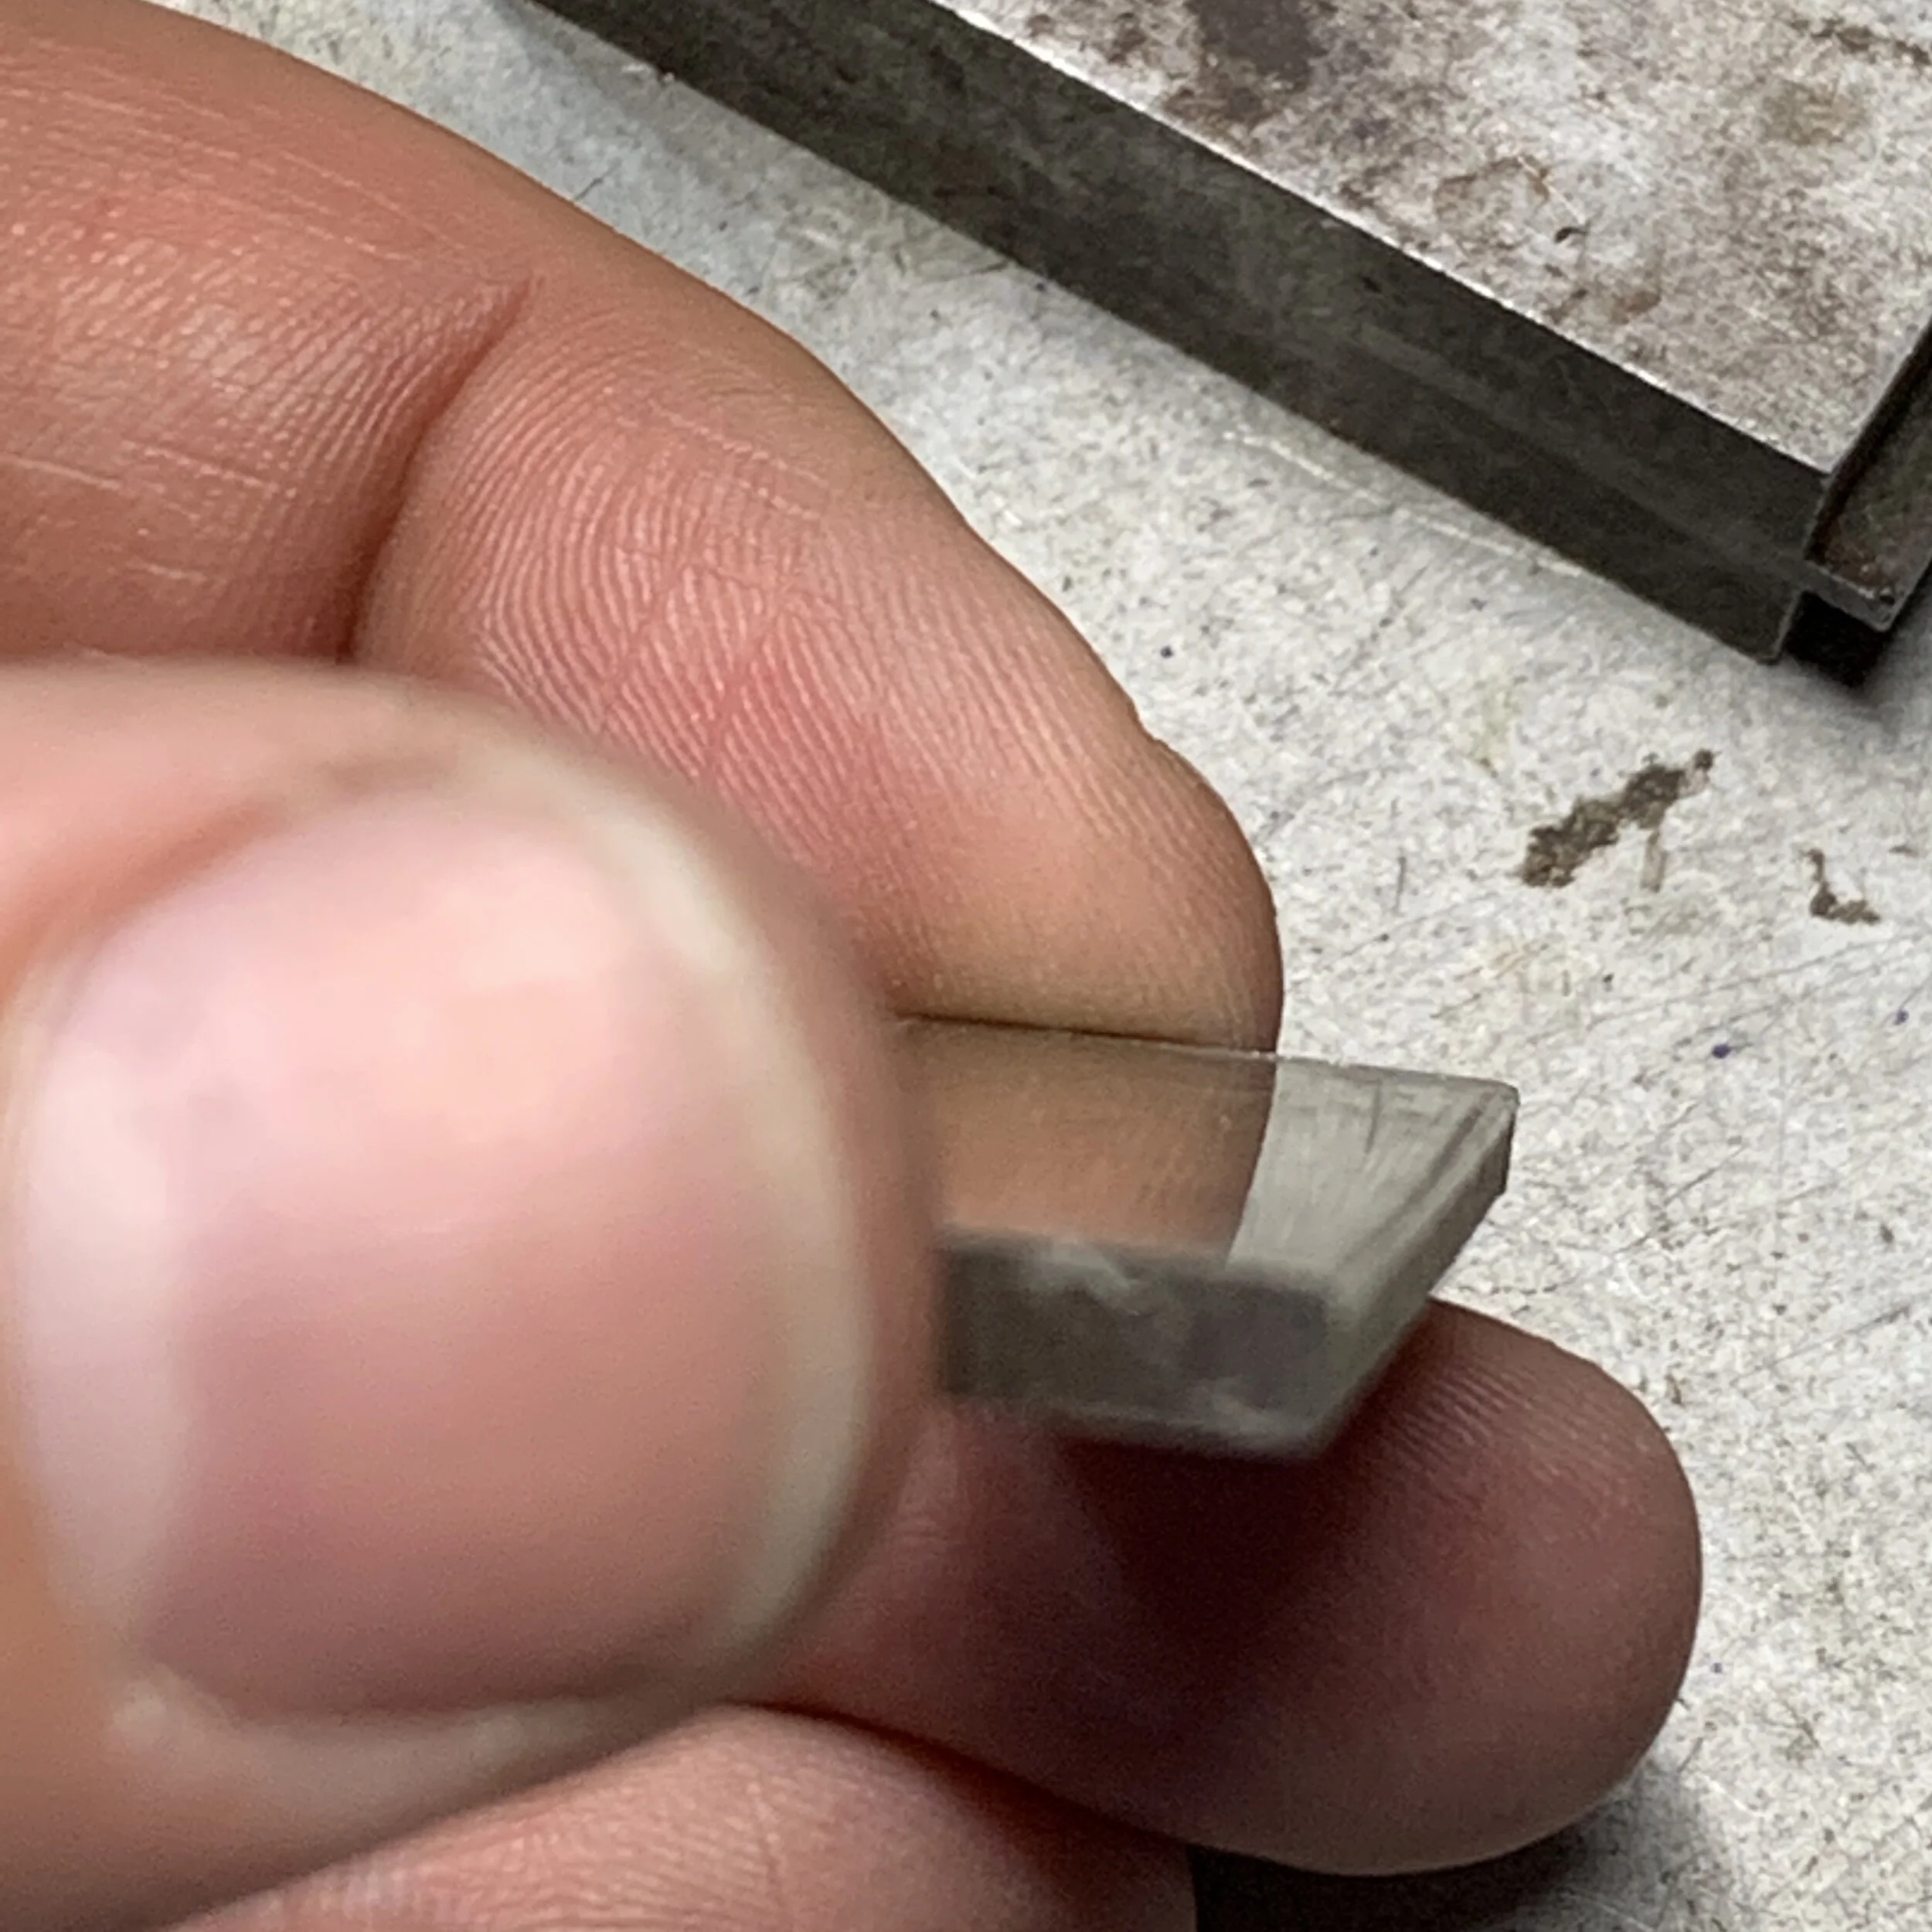
Next, once it’s flat on one side, you’ll notice sometimes that there are rolled edges on the other. I mark this so that I can put the outward facing 45 degree bevel, up where it meets the ricasso, and it’ll get ground off. This makes it easier not to fight the material, and just blast it away when you’re removing material.
Setting Up Your Machine
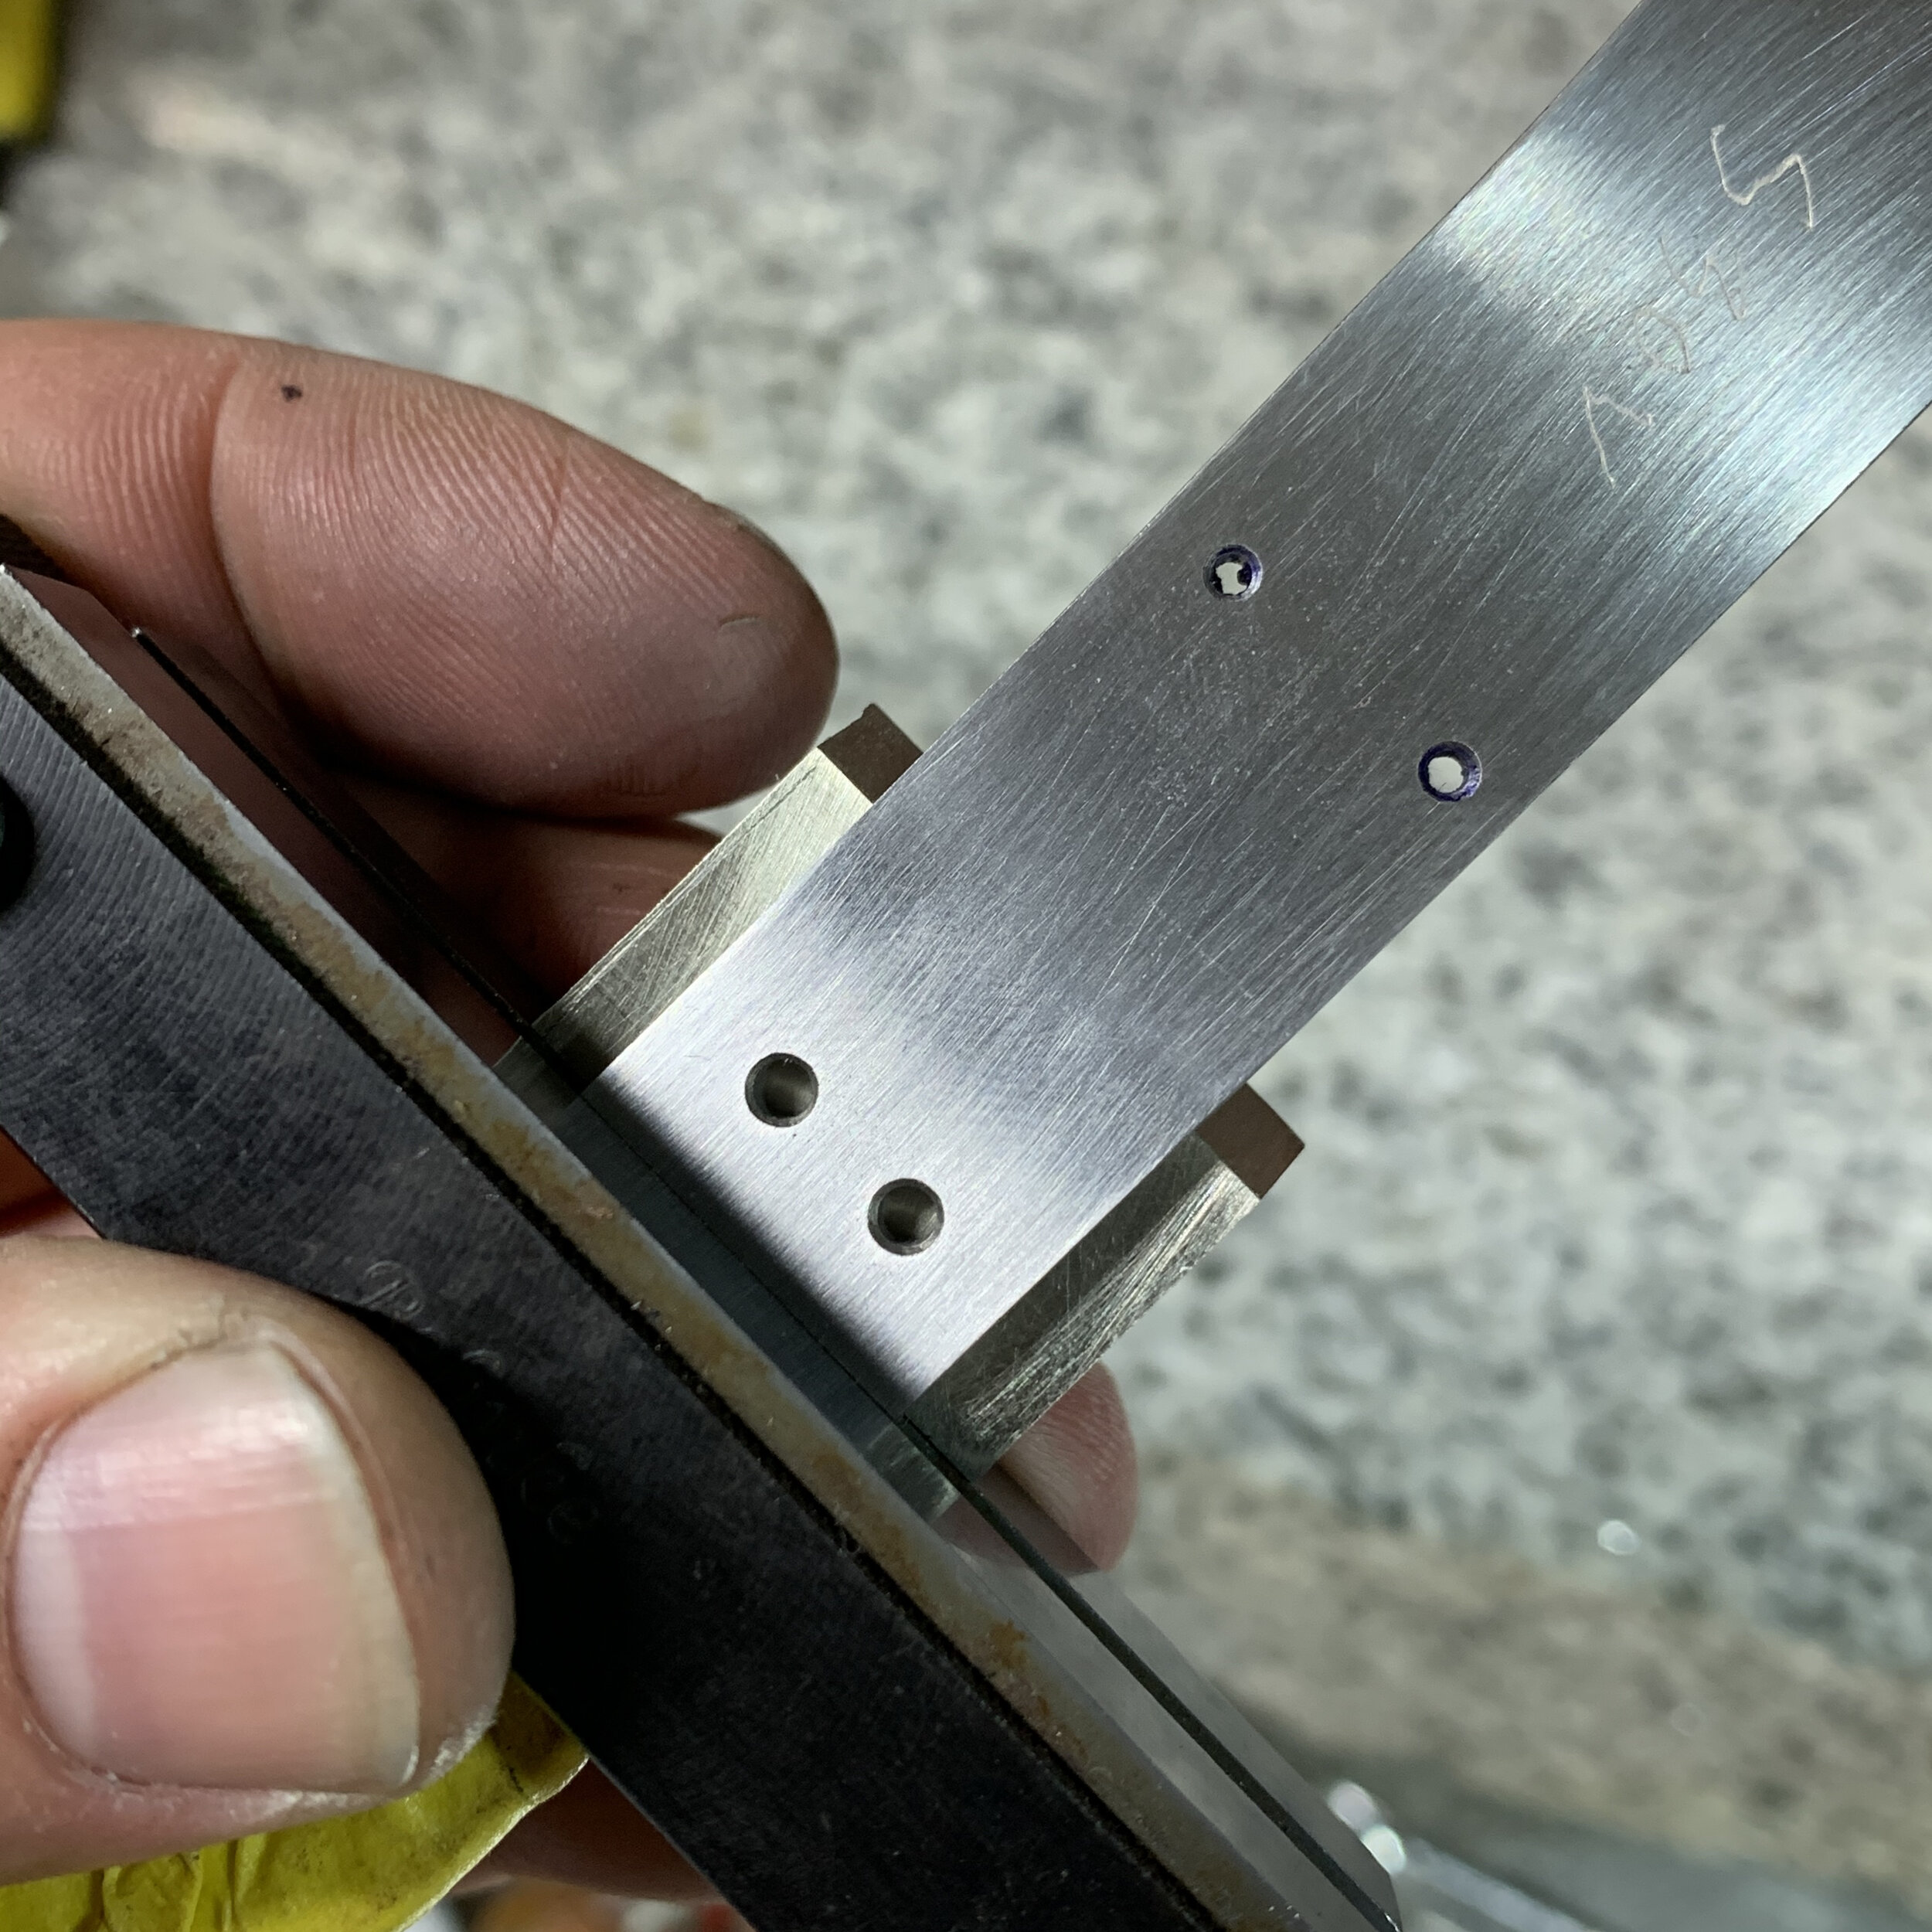
I cannot stress this enough, square is square, and anything else is….well…not. In the second picture, you’ll notice that my work rest for my grinder is not 45 degrees. It’s probably 43-42, which I will eventually modify to make correct 45s, but as long as this angle is absolute on both the bolster, and your handle material, you’ll always get a flat joint.
Gettin’ to Grindin’
I start by grinding the 45 on the outer face of the bolster, up to a very slight line that’ll transition from the ricasso to the 45. This flat has to match the grits of the 45, so you’ll transition from 45 to 90 degree on your work rest until you get it to 3,000 grit. I’ve found that the Nielsen Grinder setup helps with the grit transition, because the platen pulls off of a magnetic head setup. I have a few plates, and I just switch out the grits.
Also, something to keep in mind is that, the flat plane gives you a good indication of how square your 45s are. If you squared your work piece in the beginning, the flat will tell you if you are getting off the mark while pushing your bolster into the disk. Switching off from hitting the 45 and 90 degrees as you go up the grits also gives you the chance to fix the flat plane, if you happen to over grind the 45 and bring it to a knife’s edge.
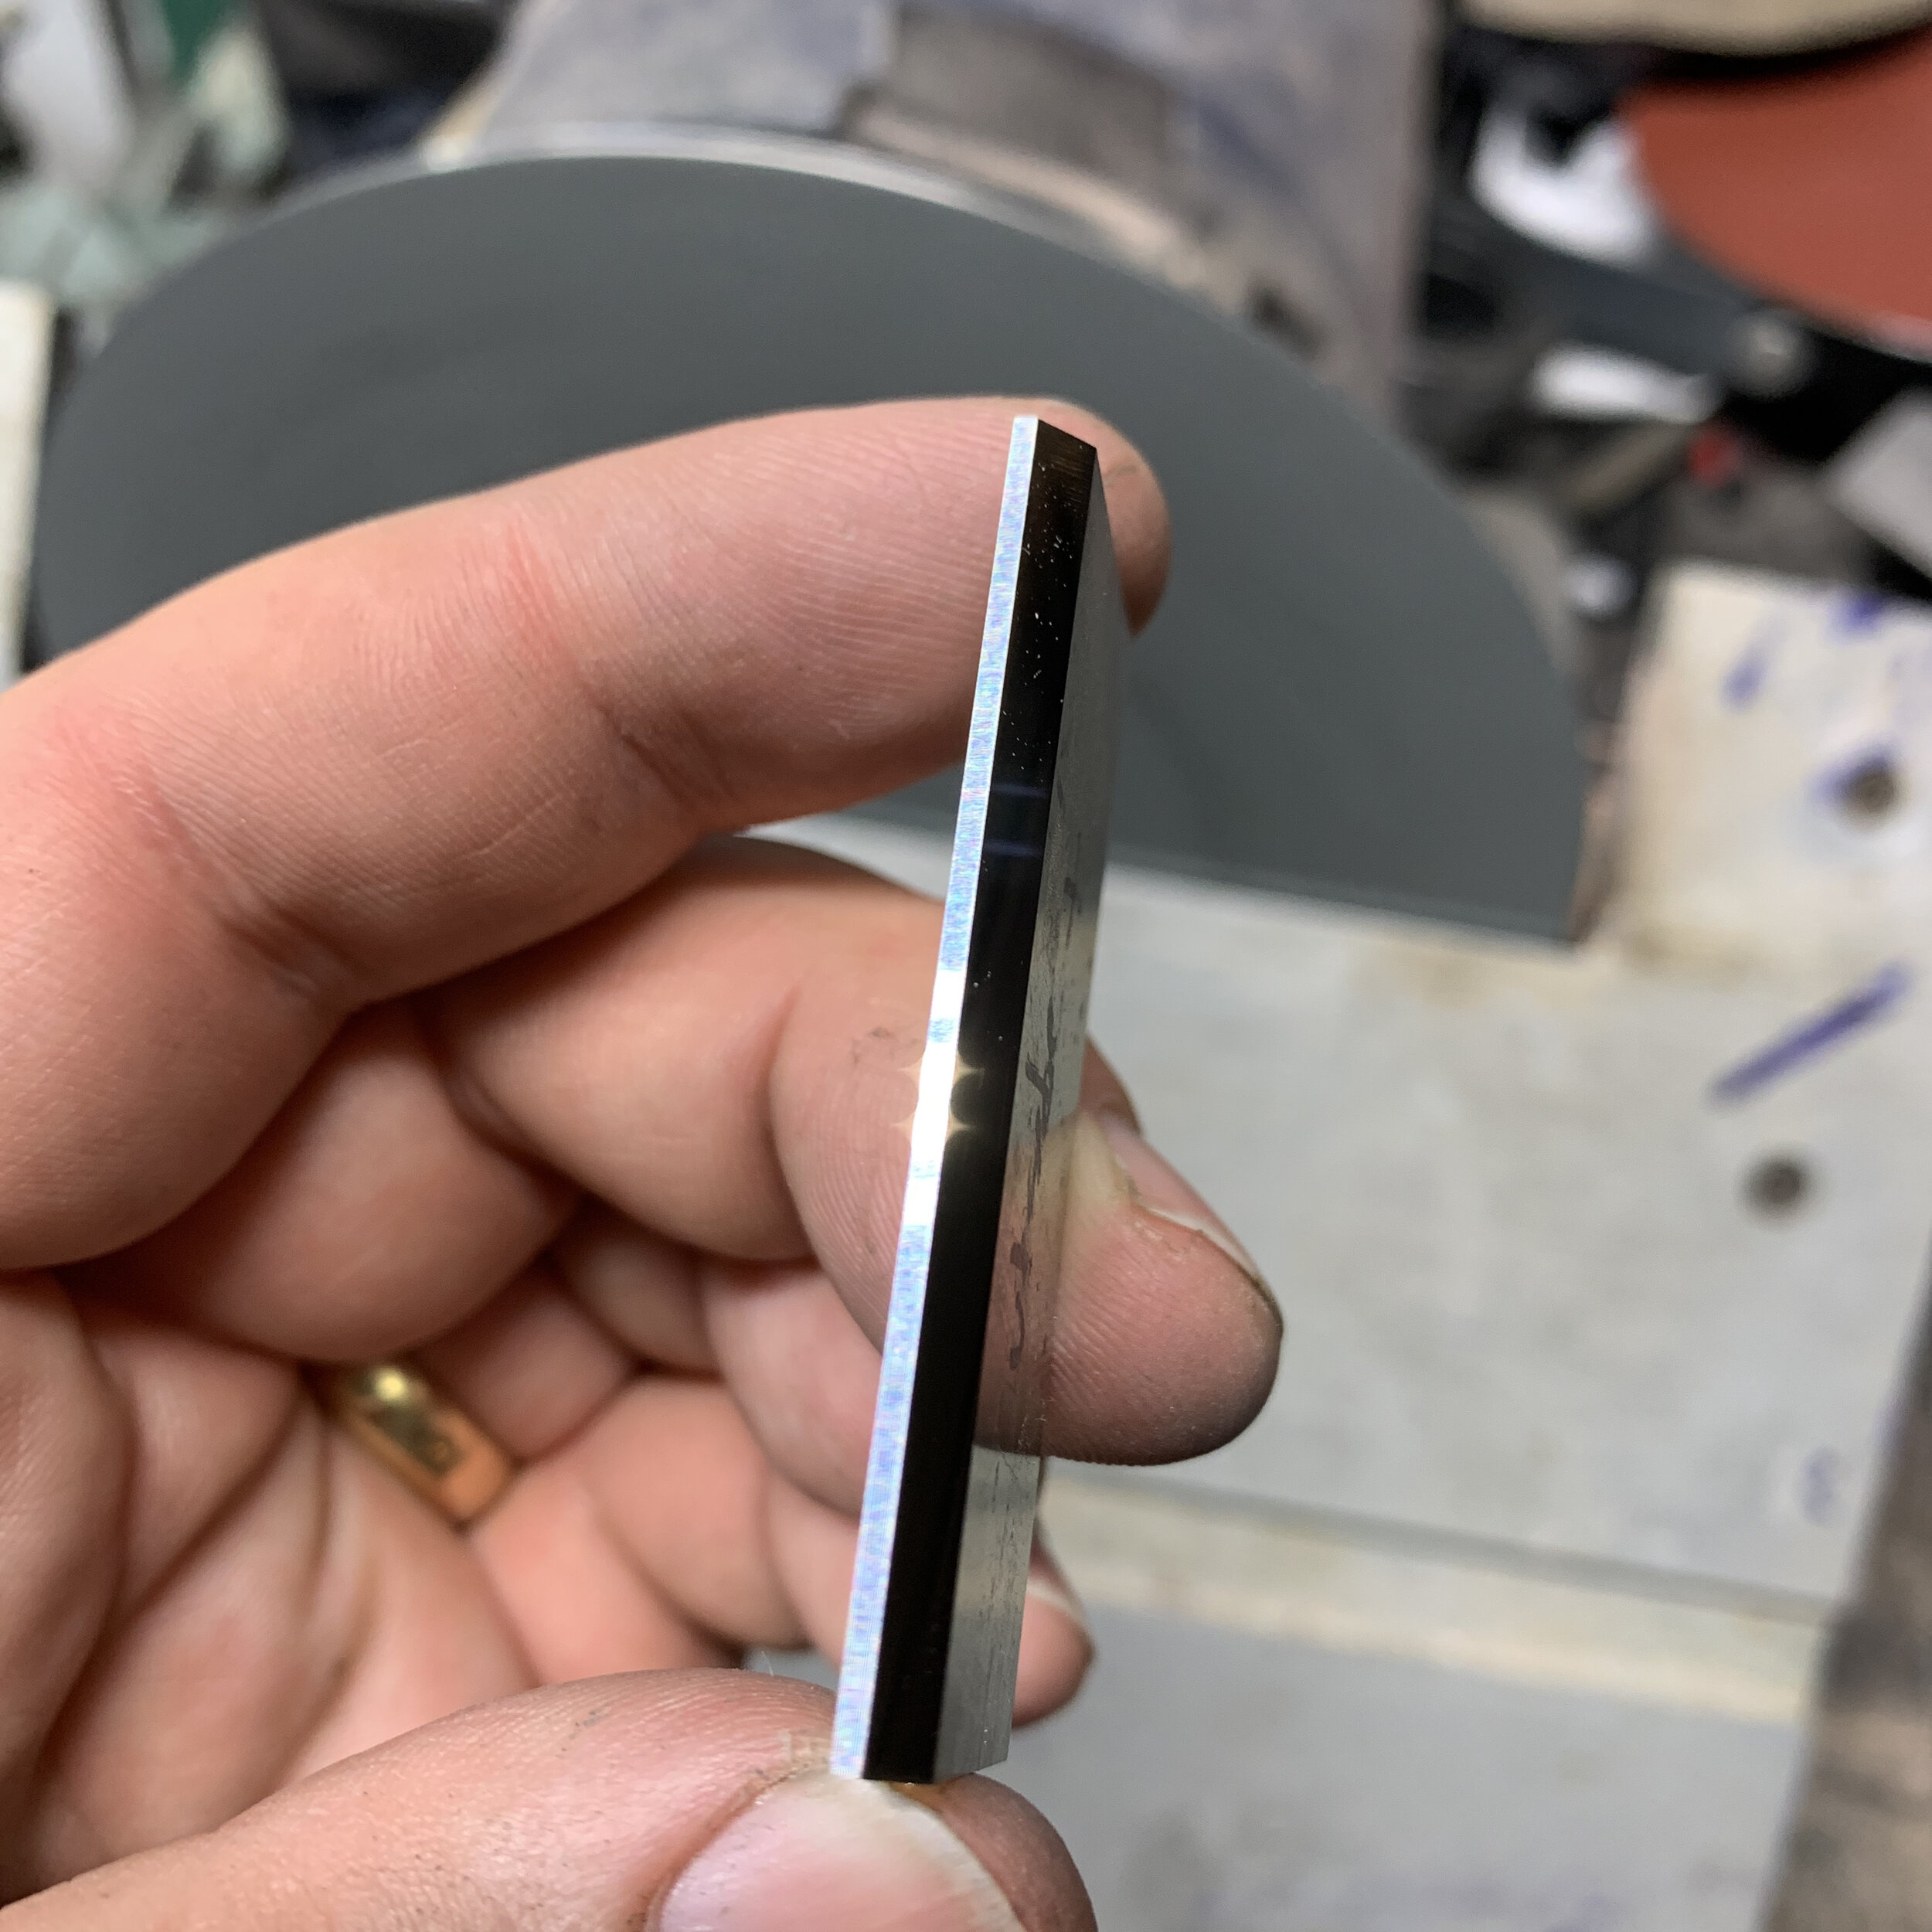
This is what the outer side will look like when you get it to 3,000 grit.
Now it’s time to buff. I use a Kirkland’s jewelers ring clamp vise and it keeps the work piece from flying out and killing you.
You can see where this is pretty clean. Always look out for facets and grit scratches. Once these are attached to the blade, you’ll have a really hard time correcting things that you could easily do while not attached.
I will get to 3,000, and use a scratchless ping rouge. When you are buffing, go light. The heat and compound will leave troughs or waves sometimes if you go too hard. You’re trying to add a really light finish, not use the buffer and compound to remove deep scratches.
The next part is the easy one. For the 45 that your handle material attaches to, you don’t need to have a high grit grind or polish. Some of this is because you want a surface that epoxy can bind to, and the other is it won’t be visible. I’ll lean more towards it’s important to have surface for epoxy to bind to, but don’t make them too course, or you’ll have a janky edge when you are shaping your handle material. I usually take them to 220 grit.
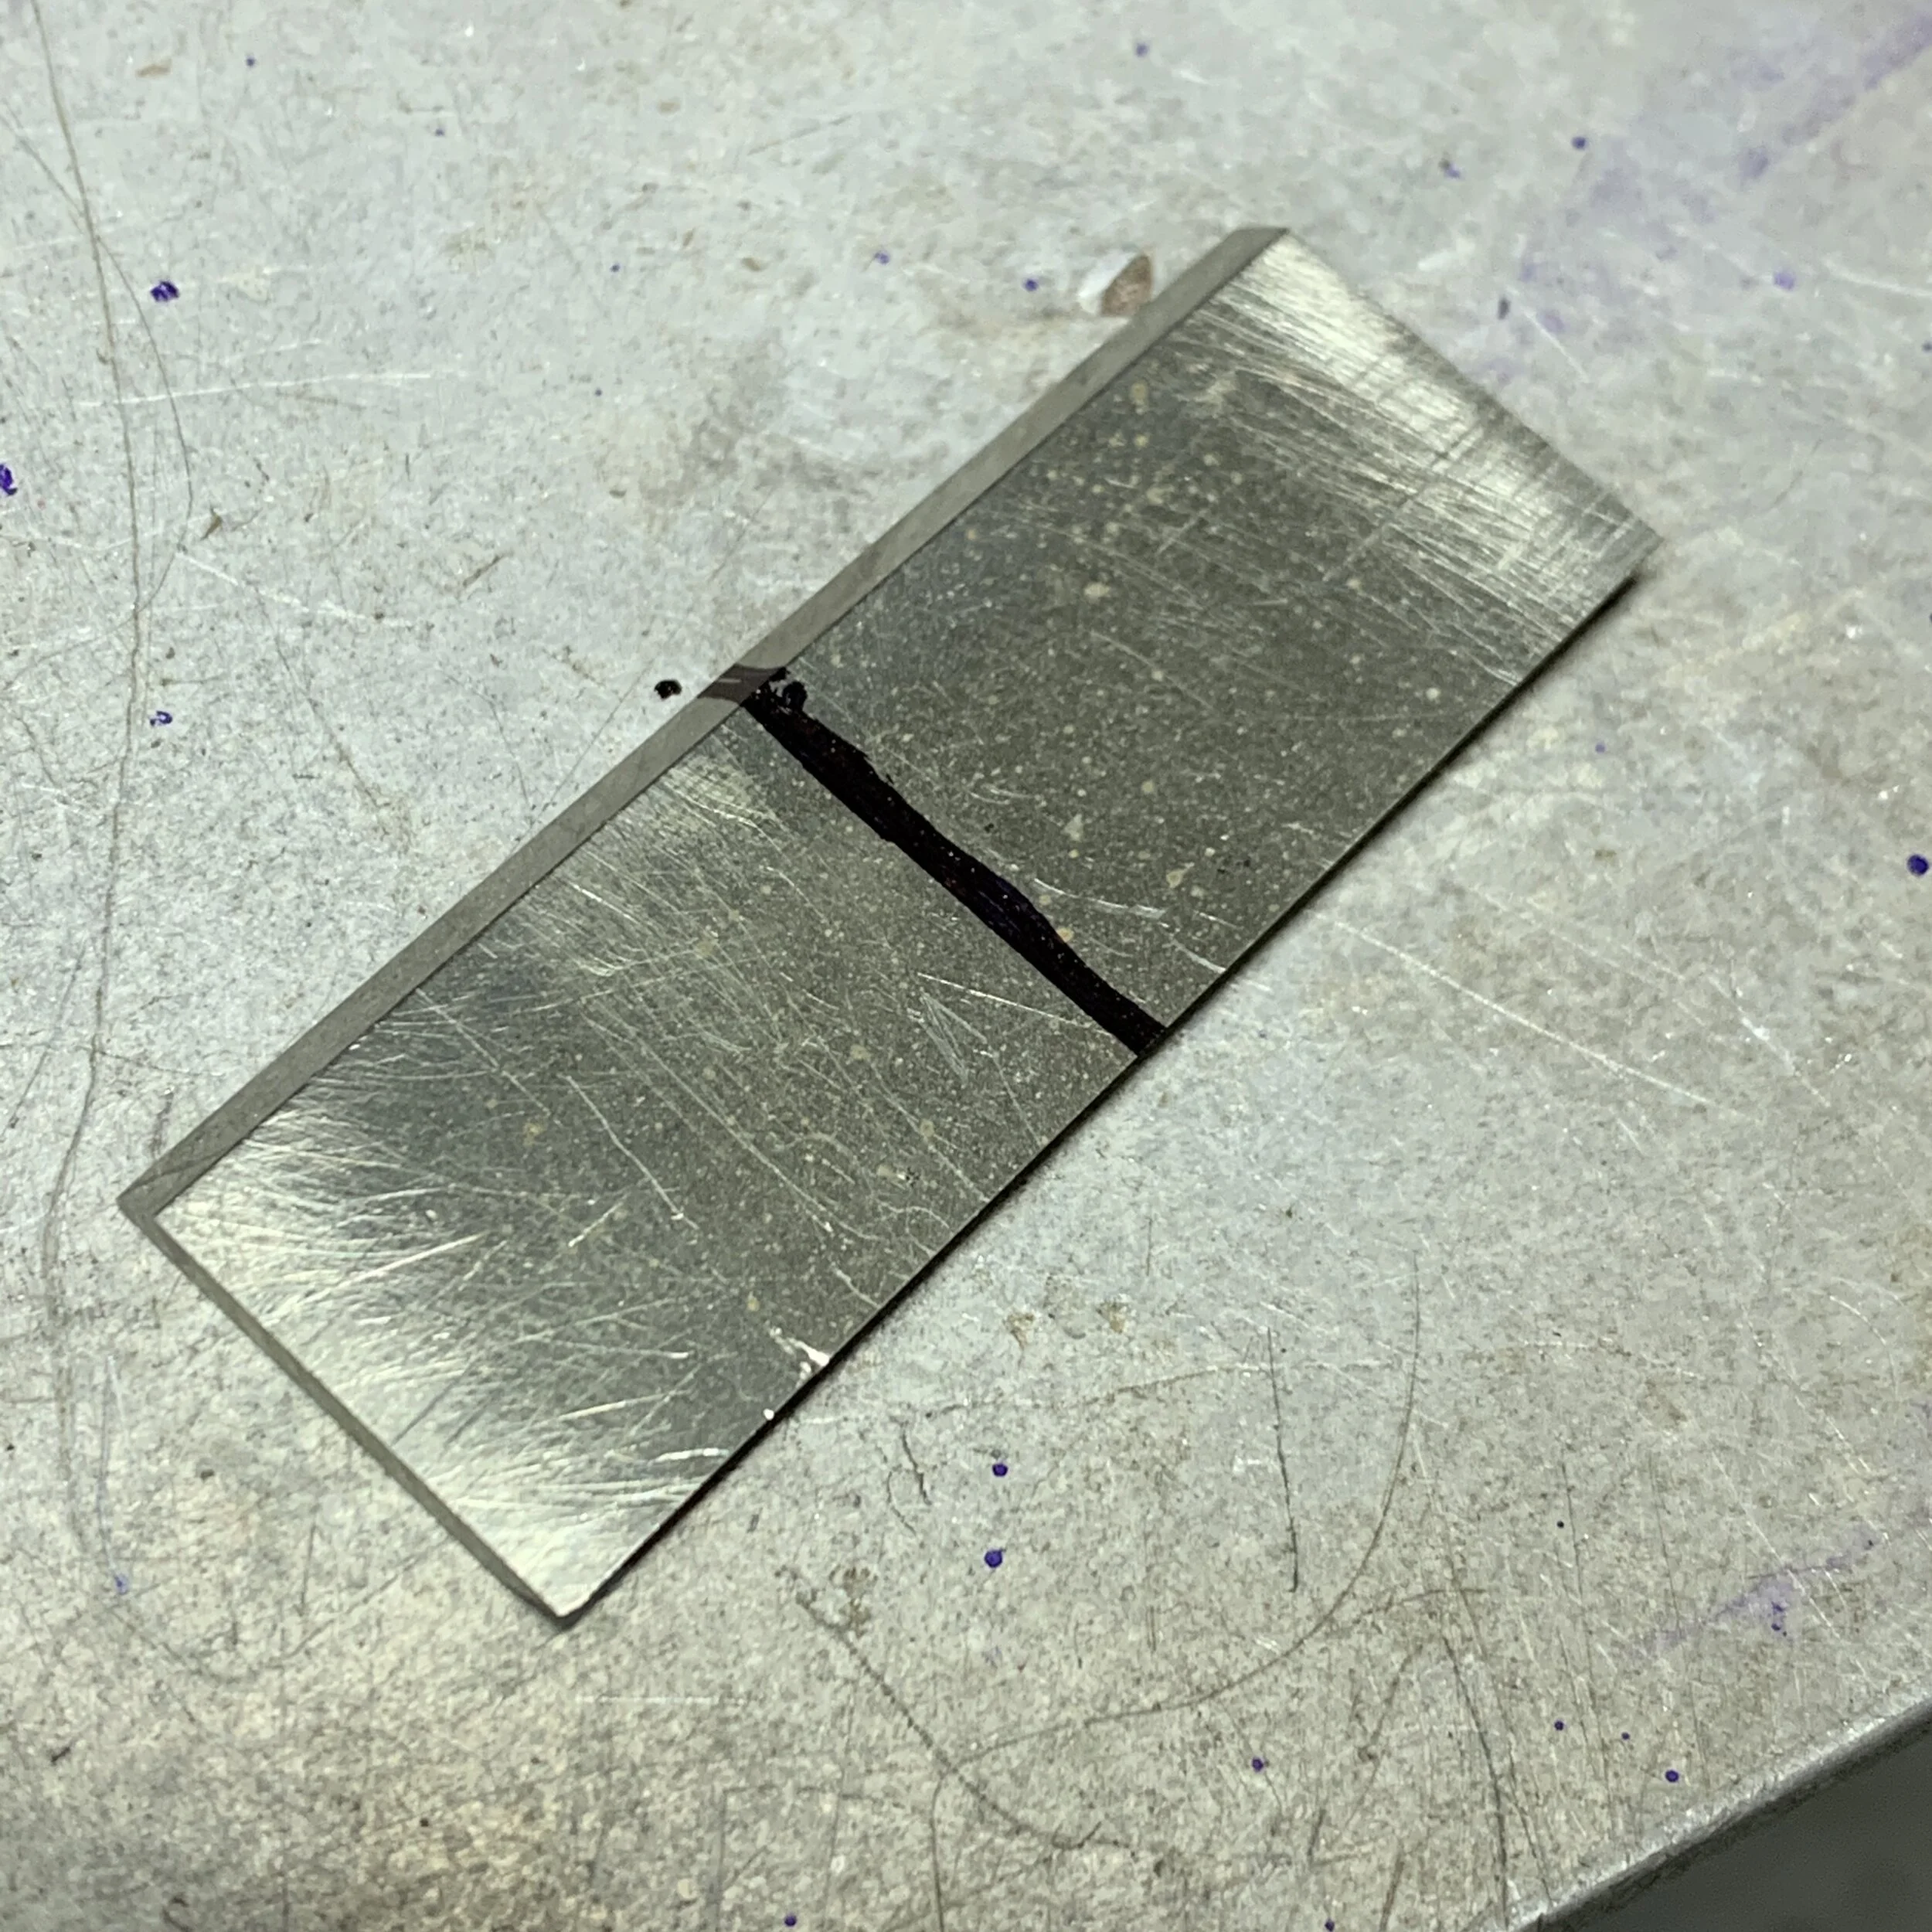
This is what it should look like once you’re done. I also will knock off burs on the machinist block and ensure the inside flat surface that rests against the tang is perfectly flat. Remember that picture earlier? Yes, this is the stage I took it in.
Now cut that piece in two! remember to knock those burs off with your flat sandpaper. Light and easy.
Knife to Bolster Setup
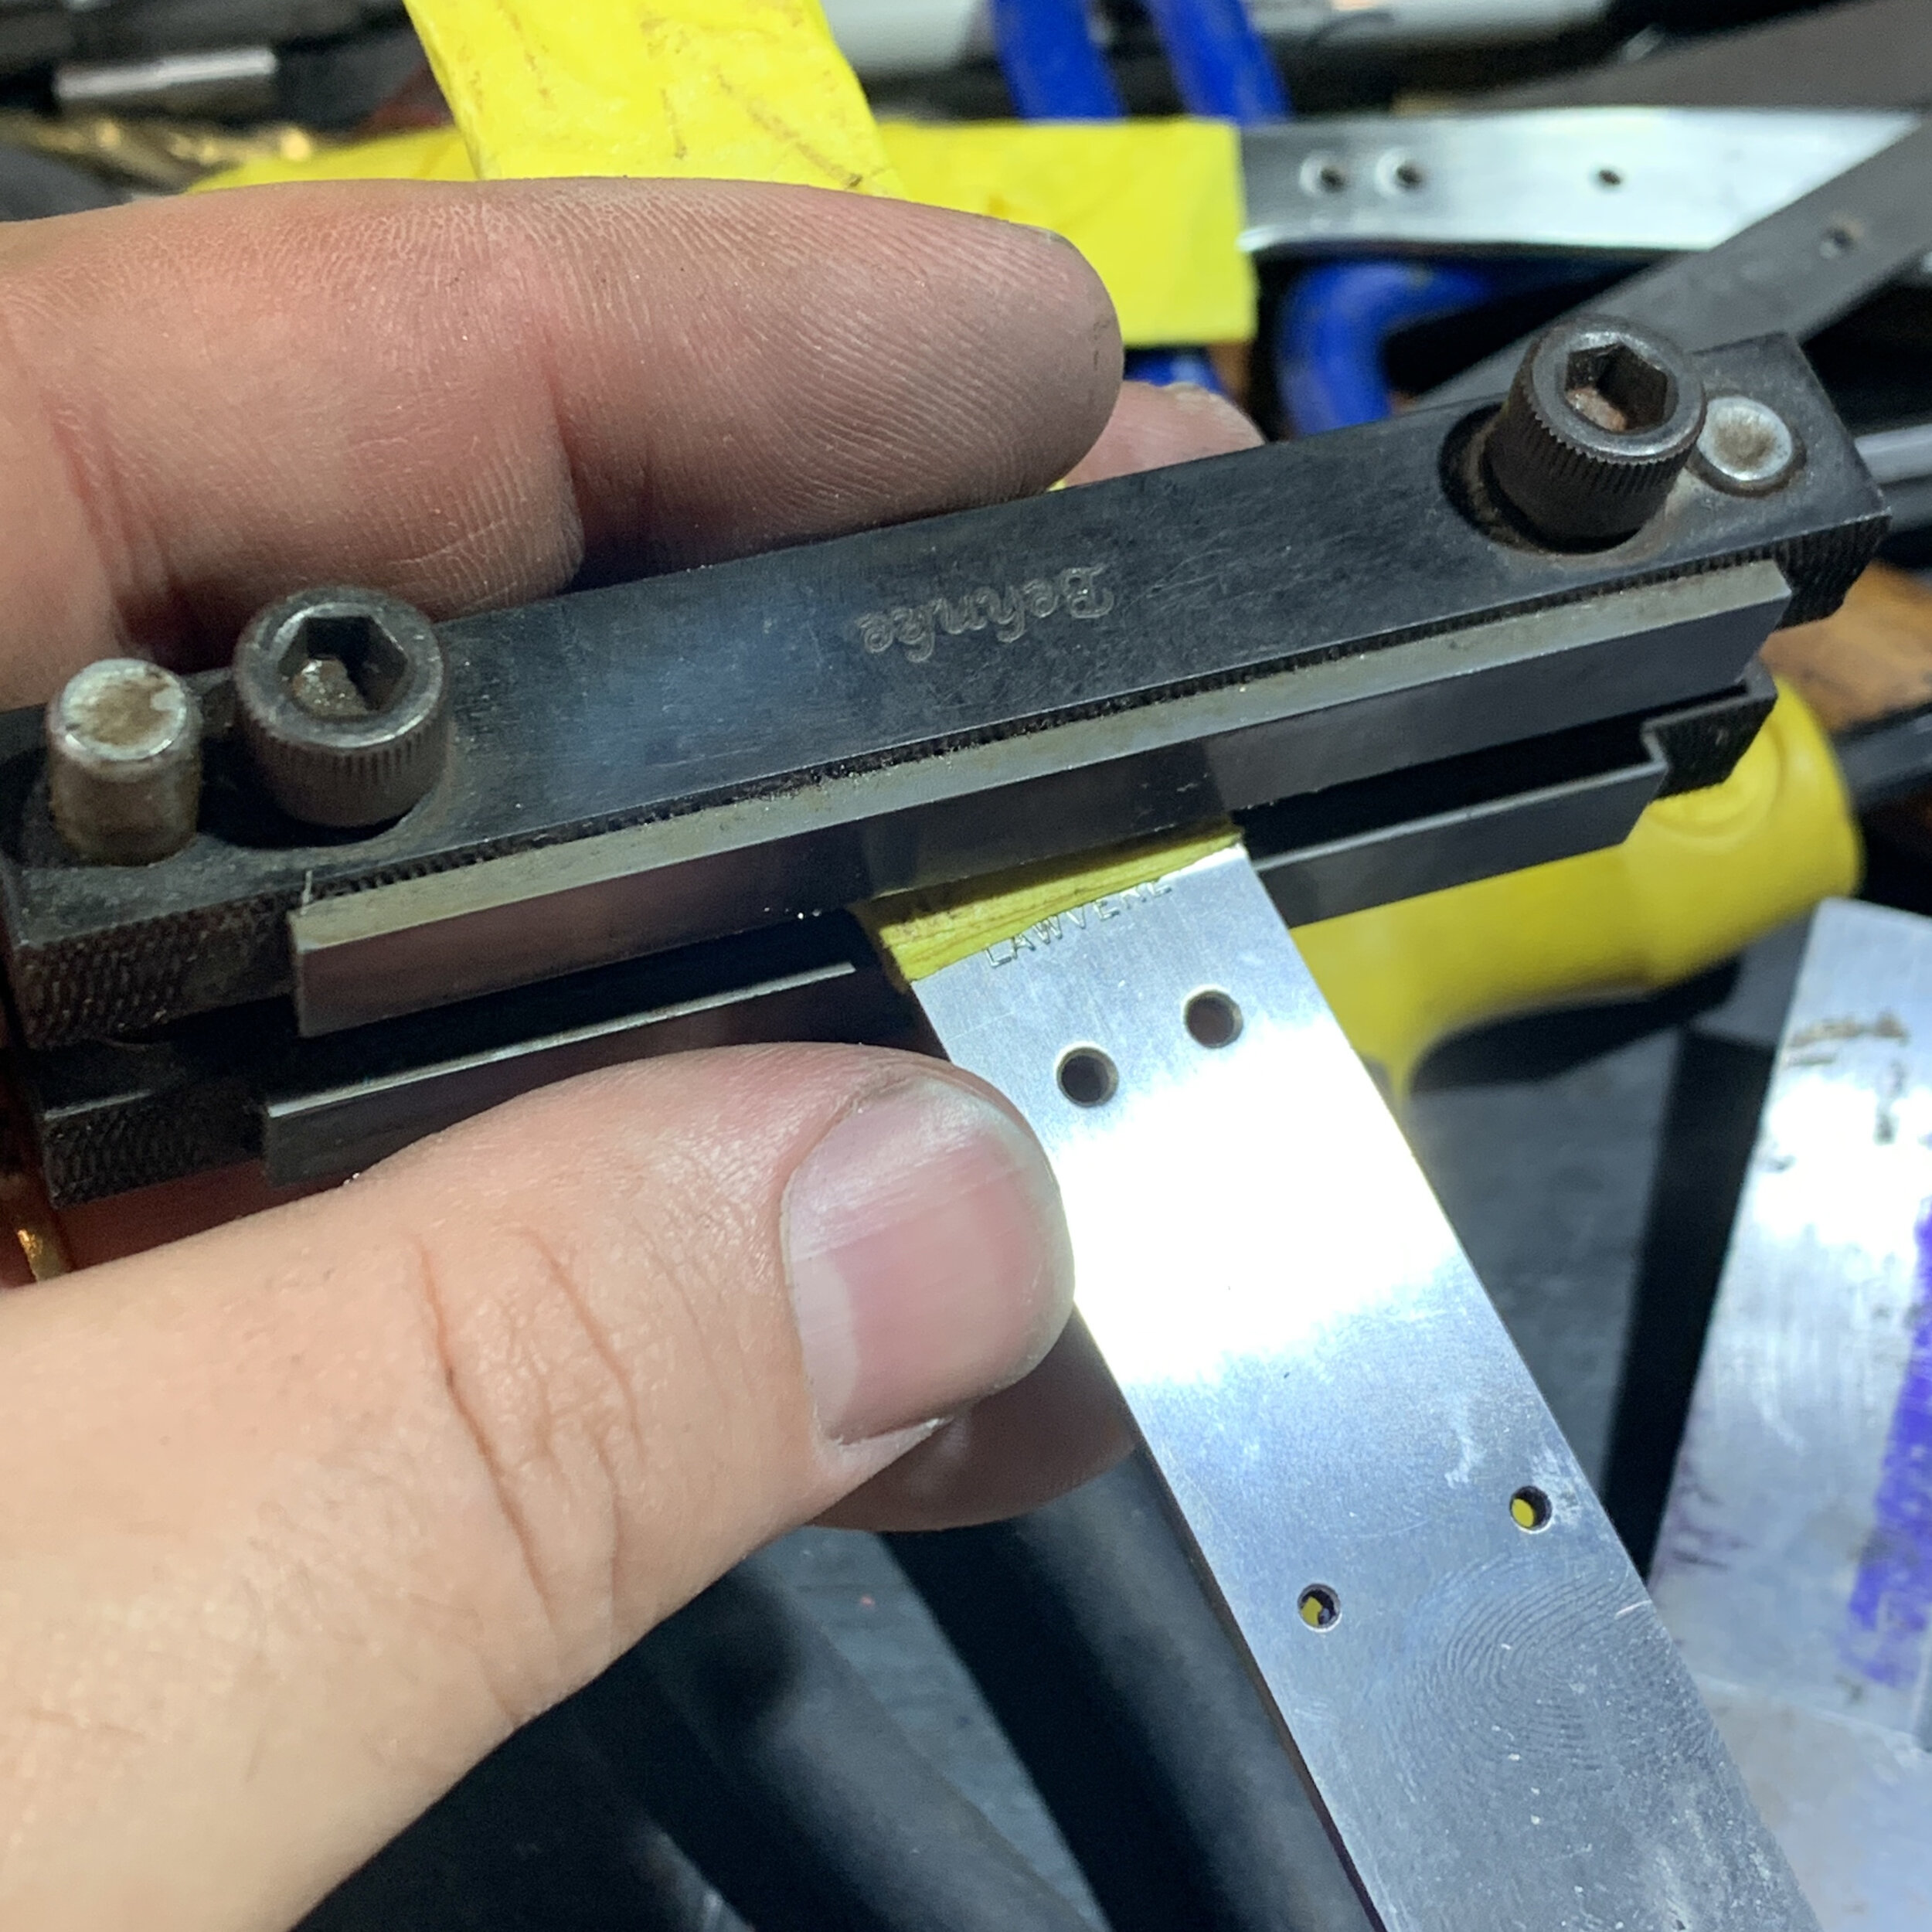
There are a million ways to skin a cat, but I’ve found that setting perfectly parallel bolsters can be accomplished with a file guide. Bill Behnke and Bruce Bump sell good carbide faced file guides, and they can be used in a lot of different applications in the knife shop, so just invest in one. You can find hardened steel versions a lot of different places, but for file guides, I love carbide faces.
The first step for me, is to take a machinist square and mark a line where I want the edge of the bolster to meet the ricasso, and mark the line.
Then, I bring the file guide up to that line, and fasten it down tight. Just imagine a sharpie line there, I took this right before I removed it and made the line.
Next, assuming your tang edge is square, check the file guide against the square to make sure it’s…well…square.
Next, take one side of your bolster and butt it up against the guide and then flip it over.
At this step, I have found the easiest way to fasten the bolster is to use super glue and an activator. You can get these a lot of different places, but Texas Farrier Supply has them both as well.
A dab on either side of the tang where the bolster meets will work. Just remember not to put it on the dovetail unless you like a lot of cleanup afterwards. Spray your activator on the glue and let it stand for 2-3 minutes. I find that the hold will be stronger if it’s left a few minutes.
The next thing I do once the glue is dried, is take the other side of the bolster and butt it up against the guide, and look at the geometry and alignment to make sure I am not missing anything. if it looks like the angle that meets the tang, and the legs of the dovetail match, this is usually good for me. I have an eye that’s sensitive enough to notice slight angle differences. If you don’t, then find a tool that’ll help you gauge that it’s correct.
Drilling & Setting
On a flat surface (I use G10 as a drilling surface), lay your bolster down so the file guide rests on the opposite side of the drill surface, and drill through the first side.
Keep in mind, brass, nickel-silver, sterling silver, and stainless steel, all heat up and cool down at different rates. With super glue, it has a point where it’ll get gooey when it reaches a certain temp. This is good if you need to remove stubborn pieces that are adhered with it, but it’s bad business for drilling, if you’re using it to secure a work piece, and it gets too hot.
Use a sharp drill bit, and don’t generate too much heat, otherwise your bolster will pop off, and it’ll be a chore to get it back where it needs to be for you to maintain your hole position, AND symmetry of the bolster dovetails. Cutting oil works to help ease the drill work and keep the heat down.
Clean up your holes a little and prep the work space to attach the other side. I use acetone to remove any oils or goo from the other side. Make sure the bolster fits flat too!
Now, you’ll drill the holes, going through your previous bolster, the tang, and into your other bolster. Be careful on this one!
Not only are you using the nickel-silver as a drill guide, but you’re generating heat here too. Too much and both will come off, and you’ll only compound your frustration. I tend to go slow on this. Nickel-silver doesn’t require an exact speed and feed because it’s soft. Stainless will.
Once that’s done, and if you didn’t screw anything up, you can check your pin stock to make sure everything looks good. At this point, whether the pin stock is straight or not is mostly moot. You’ll hide them through peening. There are some caveats to this, as if your drilling skills aren’t the greatest, and you end up drilling non-straight holes, when you peen, it can shift your bolster. Try to always make things as straight as possible, that way you don’t have to correct for a previous mistaken in your next process.
Next you need to pop off the bolsters. Don’t be too heavy handed with this. Nickel-silver mars and deforms easily. I find that taking a screwdriver and positioning it at the edge, then twisting slightly, usually does the trick.
You can also take a soft faced mallet and wrap on it, or use a torch, but you can make a bolster fly pretty easily, or heat up your work piece and knock out your heat treat, or catch things on fire. So, be careful.
Superglue mostly disintegrates with acetone. I pop my bolsters in a glass jar with acetone, and I take a paper towel soaked with it to the tang. You can use an X-Acto knife to scrape any glue residue off. Just make sure it’s completely free of debris, because peening to the tang will show gaps if you have anything obstructing.
You can also hit the inside of your bolsters on the machinist block with sandpaper, lightly. You want to ensure they’re flat, and don’t have any gunk that you can’t see.
Don’t remove your file guide, you’ll want it to ensure your bolster position for peening.
Next, we will taper the pin holes.
The idea of this is to create a mouth for the pin material to expand into. By creating this cone, you not only mechanically fasten the pin to the bolster, but you also give the pin material space to fill any area of the hole that might have surface variants.
My tapering tool was a little big for this hole, but it still worked.
At this point, you need to clean your pin holes, and your pin stock. Use acetone, and do it well. Any oil or dust or anything that sits between the hole and pin stock will show up after you peen.
Sadly, I don’t have pictures of the peening process. Mostly because it’s ugly, laborious, and you wouldn’t want to see it. Also, because I didn’t take pictures…I usually pay most attention to the details and what I’m doing at this phase, so forgot about y’all for a minute. Sorry sorry.
A few things to remember about peening. When using a hardened or carbide file guide, it’s easy to hit it and mess it up. Ask me how I know…Also, peening bolsters that are not adhered at all leaves the piece a propensity to shift. You’ll need to always be watching to make sure as you’re peening that the bolsters stay flat to your tang, and you are only expanding the surface material into the tapered hole. There are tricks to getting them flat to the tang if your pins are shifting, but you’ll want to avoid this if you like not being frustrated.
Tip on this, you can use a piece of micarta, G10, or wood, to place against the bolster and a flat surface, and wrap it a few times to knock it back in place. Just remember to use a backing piece on the other side of your bolster, as you can easily mar the surface, and depending on how thick you made them, it can leave dings in them that you won’t be able to grind out for sake of the margin of error you left yourself.
When you grind off the pins, they should look like this. If they don’t, well, let’s just hope you went slow and didn’t mess them up. It’s hard to remove pinned bolsters. What you can do is take a hole punch and knock the pins out, and then you likely will have to start all over again.
You can cut with a bandsaw or grind off the overhang on the tang, and the knife should look like this.
Final Thoughts & Tips
We aren’t going to cover fitting scales pictorially in this article. If you’ve made it this far, it’s a walk in the park.
A few things to remember though are:
It’s easier to attach one side at a time, epoxy, let dry, and drill, then it is to do both at the same time.
I will attach one set of scales, make sure everything is ABSOLUTELY in contact and won’t shift at the point of the dovetail, and then drill after. Make sure your scales are dead flat too. All that time making sure bolsters are flat, then having gaps in your scales, is amateur hour at the knife shop, and you don’t want that.
You will use the same process of back drilling through your pin holes for the opposite side. Just be very careful. Scale material is soft, and your bit is able to wander if you aren’t watching what you’re doing.
Cut and fit your scale pins after everything is fully fastened. In a dovetail bolster, you have several different planes of contact that the scale has to adhere to. If you want tight fitting scales, you need to watch that the little suckers don’t slide on you, or cant or twist.
When attaching your pins, you can usually use CA glue or epoxy.
Make sure when you are doing your final fit up that everything glue wise is removed from your dovetails to the tang. Sometimes I will have to drop some acetone in there and use the sharp edge of an X-Acto. Sometimes you can also break just the very tip of the X-Acto off and use it as a quasi-chisel. Sometimes I have to do this alot, because messes do happen.
Below is the setup for one side being done, and the material being sawed away.
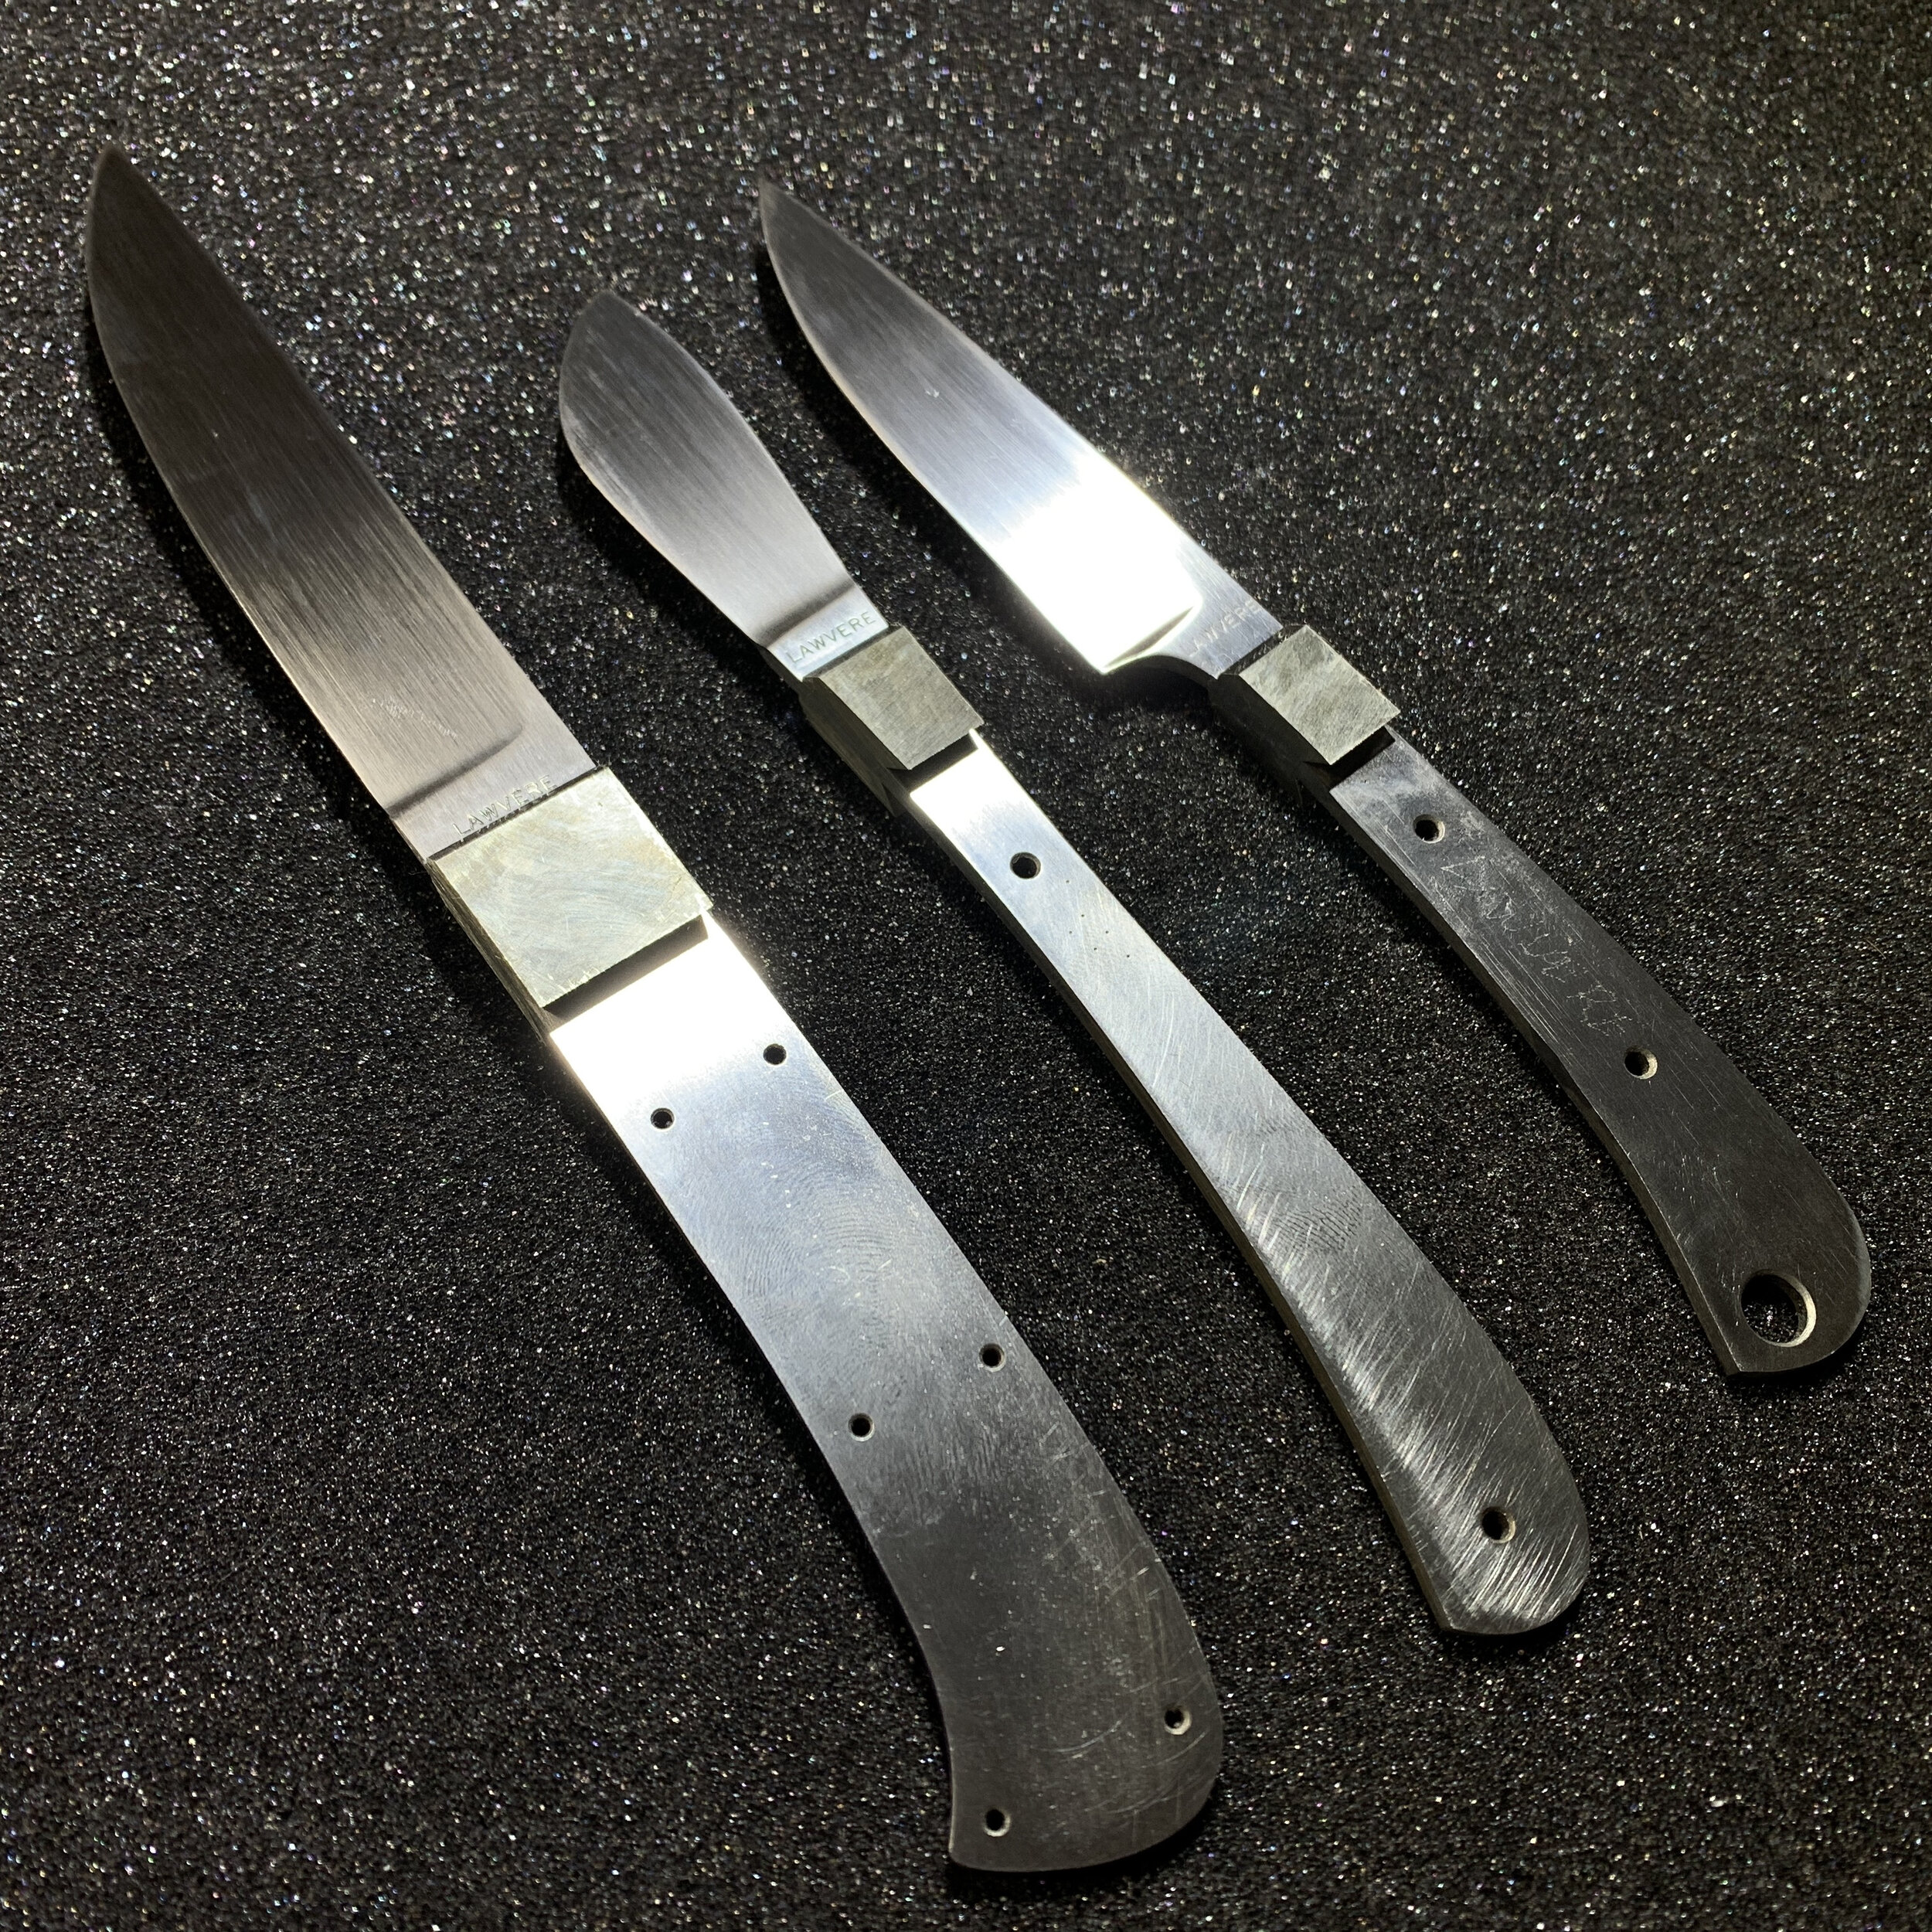
Here is the final product:
I hope this was helpful. If you need any help, just ping me through the Contact Us form, or email me directly at LSKnifeco@gmail.com. I’m happy to answer questions as they come up for you!


