
Making a 45 Degree Pancake Knife Sheath
There are many ways to go about making a knife sheath. The styles of sheaths are as varied as the knives they accompany. One thing for sure is, a knife sheath should be a compliment to the knife, and not just a crusty old gym sock you cover your knife in. My personal opinion is, if you are proud of your knife, make or buy a sheath that showcases its beauty.
Depending on where you come from, and how you learned, a pancake sheath can be a fold over sheath with or without a welt (The thicker center cut of leather that protects the blade edge from cutting through the leather, or one like I make, that is two individual pieces of leather, without a welt.
Material
There are tons of different options. For this example, I am using vegetable tanned leather as the base. The thickness (Or weight) of leather is dependent of what you are trying to accomplish. The thinner the leather, the more superficial the function of the sheath. In other words, if you don’t want the knife to cut through the side of the sheath, and if you want it to look good, stray away from leather that is too thin. I use approx an 8oz or 1/8” thick leather or greater.
You’ll want thread, I use a flat braided synthetic wax thread. Typically 2mm thick. I picked up some colored thread recently and the bulk of this will show what it looks like with that. It’s called MIUSIE Colorful 284Yards Leather Sewing Waxed Thread

The rest of the tools are normal leatherworking tools. Pricking iron, awl, edge beveler, utility knife, leather stain, and contact cement.
Process

I start off with a template. Others have made pancake sheaths, so I am not inventing the wheel here. But, I did have to design a pattern that fit my knives, so I drafted out this and cut it out, and that is the primary pattern I use for all of my pancakes.

Blocking and cutting out the leather is the next step. On this example, I marked on the top side of the leather, because I was going to veneer it. For Most applications, I would recommend using a pen on the suede side of the leather because those will be hidden. Also remember to turn your template over and trace out the mirror image of the template, otherwise you’ll have made two exactly the same cuts, waste leather, and feel silly.
You’ll want to do as much before the glue up, staining and stitching as possible. This means you’ll want to:
Punch your belt holes out. You can do this either with a ready-made belt loop punch, or use a leather punch and punch a round on either end of where you want your slot, and then use a utility of X-Acto knife to connect the holes.
Edge bevel the tops. if you try to do the suede side, you’ll end up having a gap in between the two sides when you cement, and it makes it a pain to go back and fix. Lots of sandpaper and cursing.
Burnish your edges. I use a hand burnisher initially, and then an elk antler that is super polished to get a high sheen. You can use something like Gum Tragacanth. I use the Tandy Eco-Flo which works pretty well, or water. Honestly, I have had mixed results with Gum Trag prior to dying, as it seems to act as an inhibitor for the dye to penetrate, so have mostly been using water.

I outline where my knives will be placed, and use pencil on the suede side. This helps me to target the cement where it needs to go so I have a pocket to put the knife in and wet form it later.

I switched to Barge All Purpose Contact Cement as I had a bad experience with the pictured Tanner’s Bond Contact Cement turning watery on me. It ended up permeating the elephant ear leather veneer I was cementing on, and I raged a little. If you want some good instruction on order of operation, cement and dye help, Weaver Leathercraft puts out some awesome material. I have referenced them often in my own self-education on leathercrafts.

Once the two sides of the pancake are cemented together, I do any final trimming, sand the edges to final shape on my belt sander, and do a final burnish with my burnishing tool and antler, and then I punch my stitching holes.

This was an oil based leather dye job.
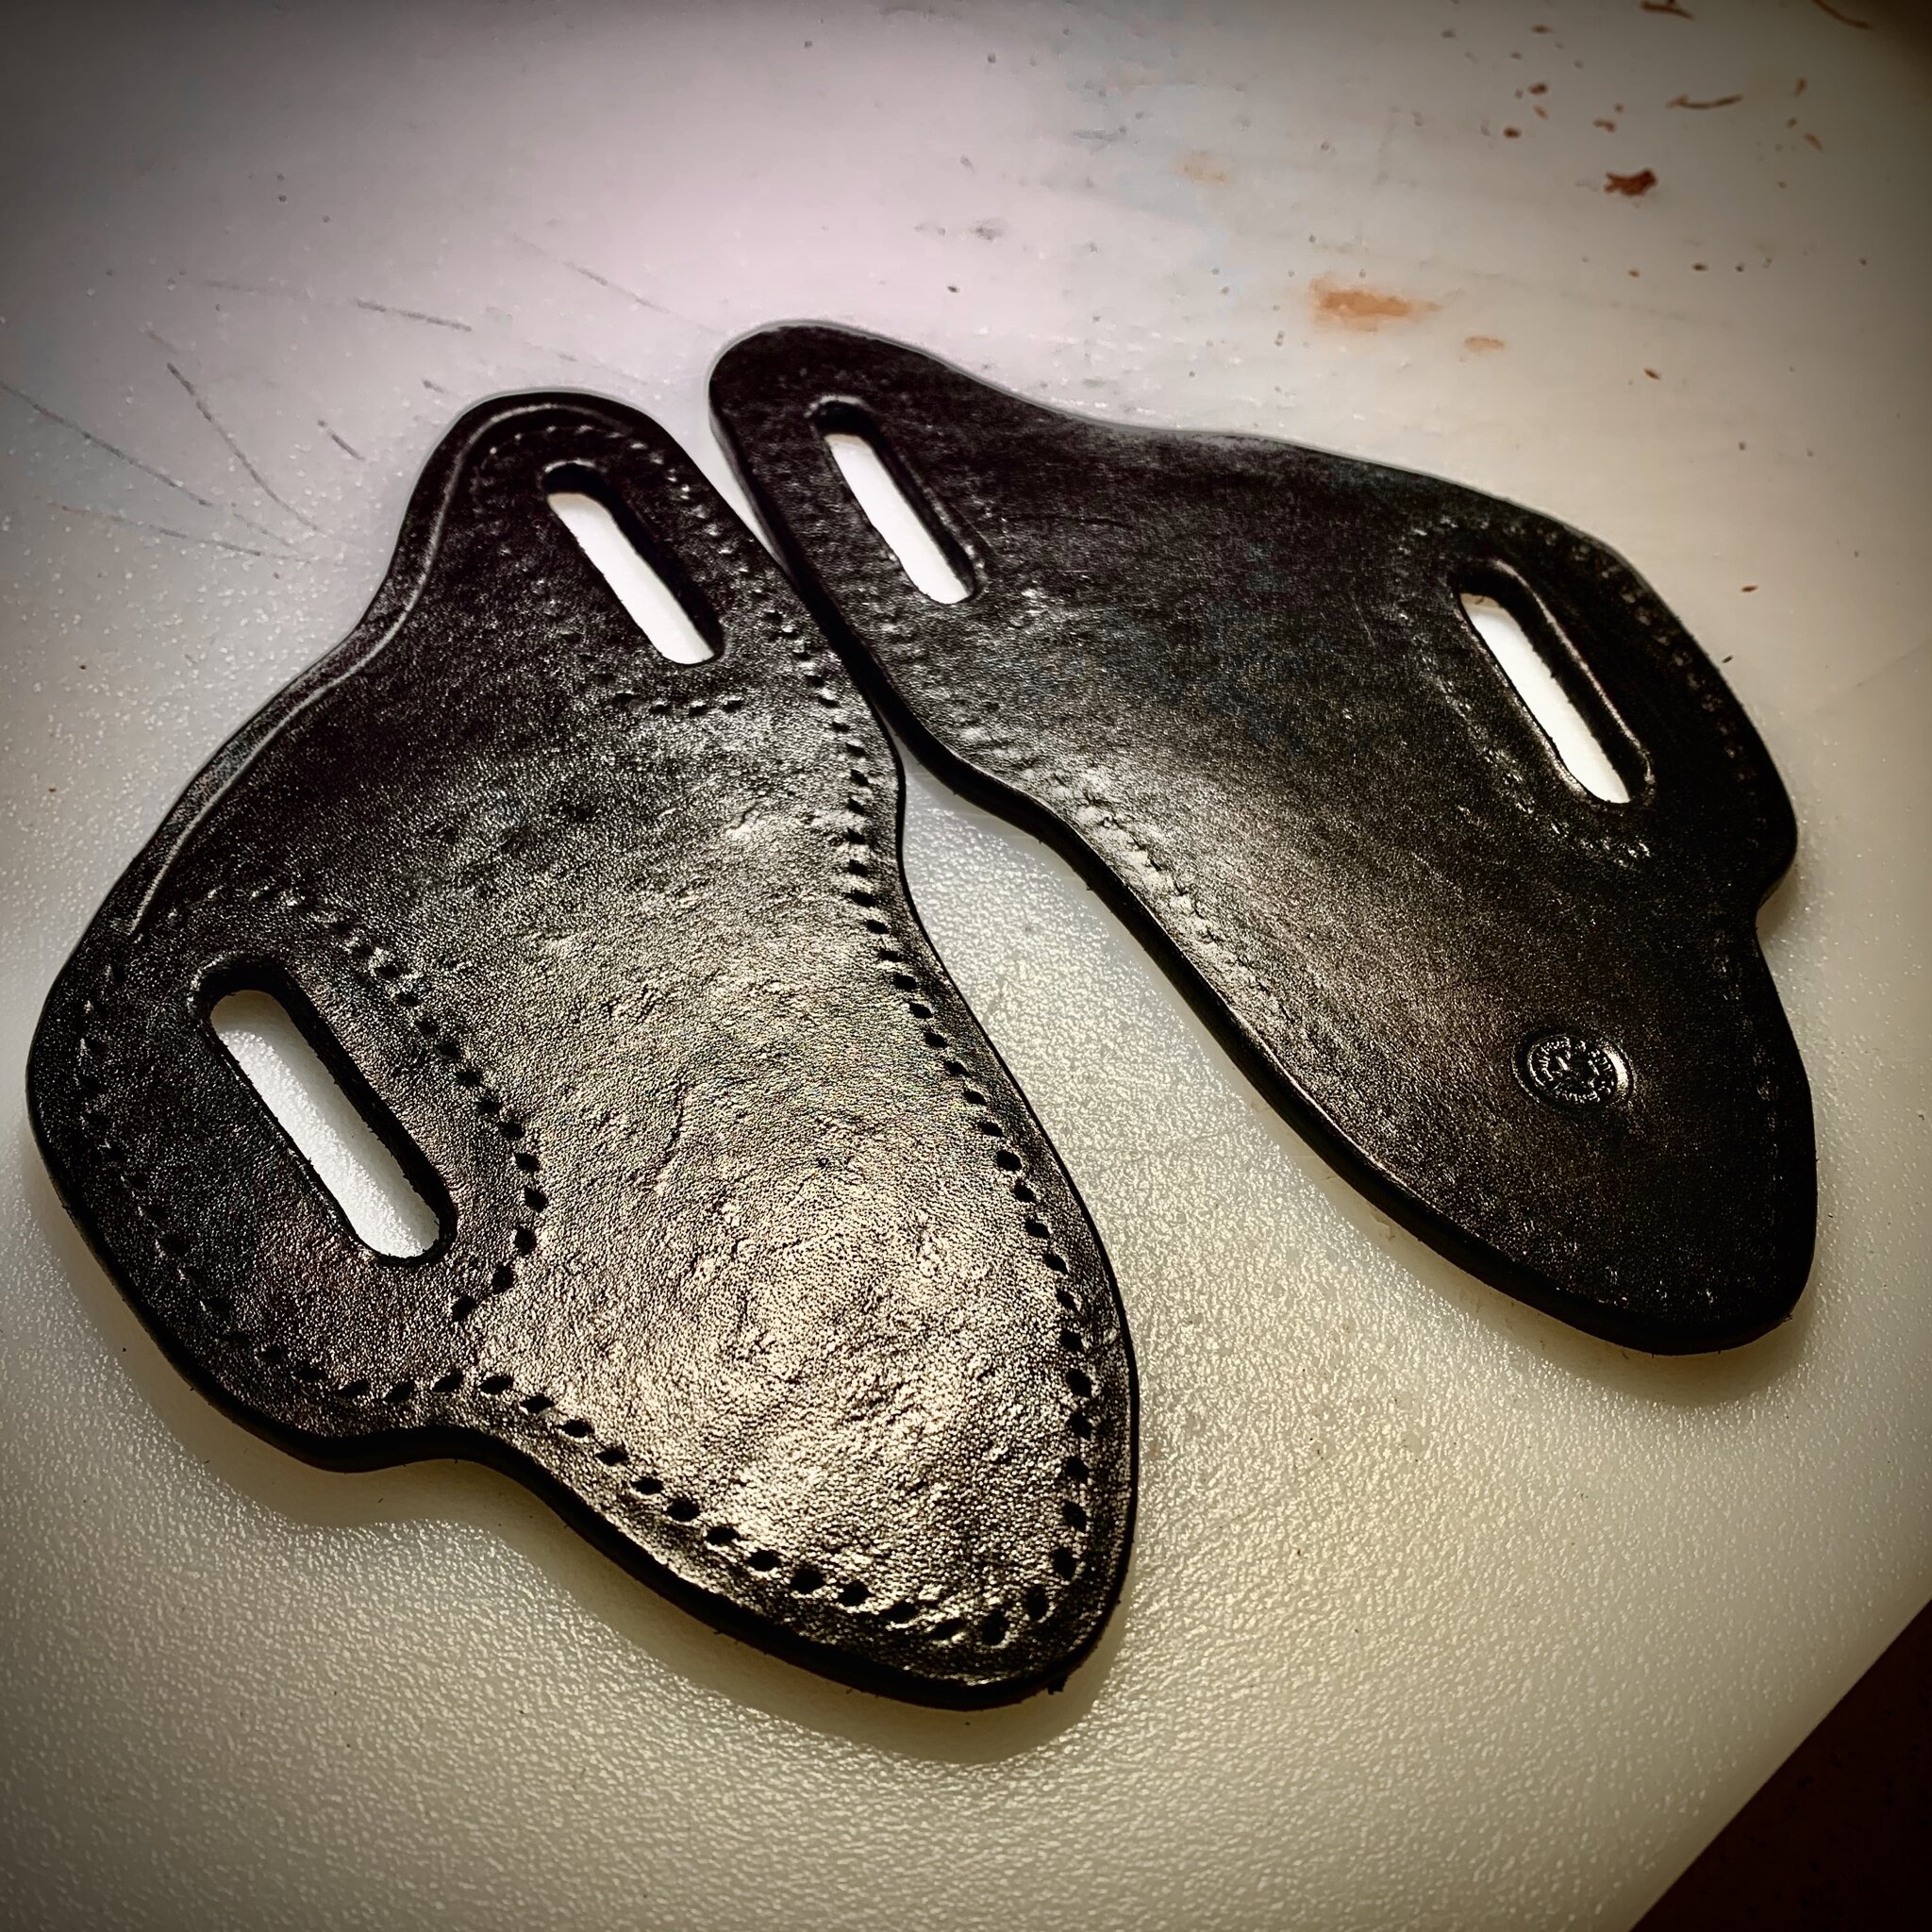
This is an alcohol based leather dye job.
I have always liked Fiebing’s USMC Black leather dye. It is, however, an alcohol based dye, and has its own set of challenges in finishing. Weaver Leathercraft has a pretty good explanation of dye types. The oil based dye I illustrated above is Fiebing’s Pro Dye Chocolate.
Whether you’re using alcohol or oil based, I have found the easiest way to handle dying is to cement and stitch prick your sheaths, and then dip dye. This requires a larger volume of dye, but the finish is way more consistent, and it takes all of 10-15 seconds. With alcohol based dyes, I will say that the dye penetration isn’t as deep, so you may find you have to do several cycles with them, especially dark colors like the black. If you don’t, when you are buffing, you’ll find that the brown color of the base leather pops through. Great look if you want to antique, but not if you want a solid black look.
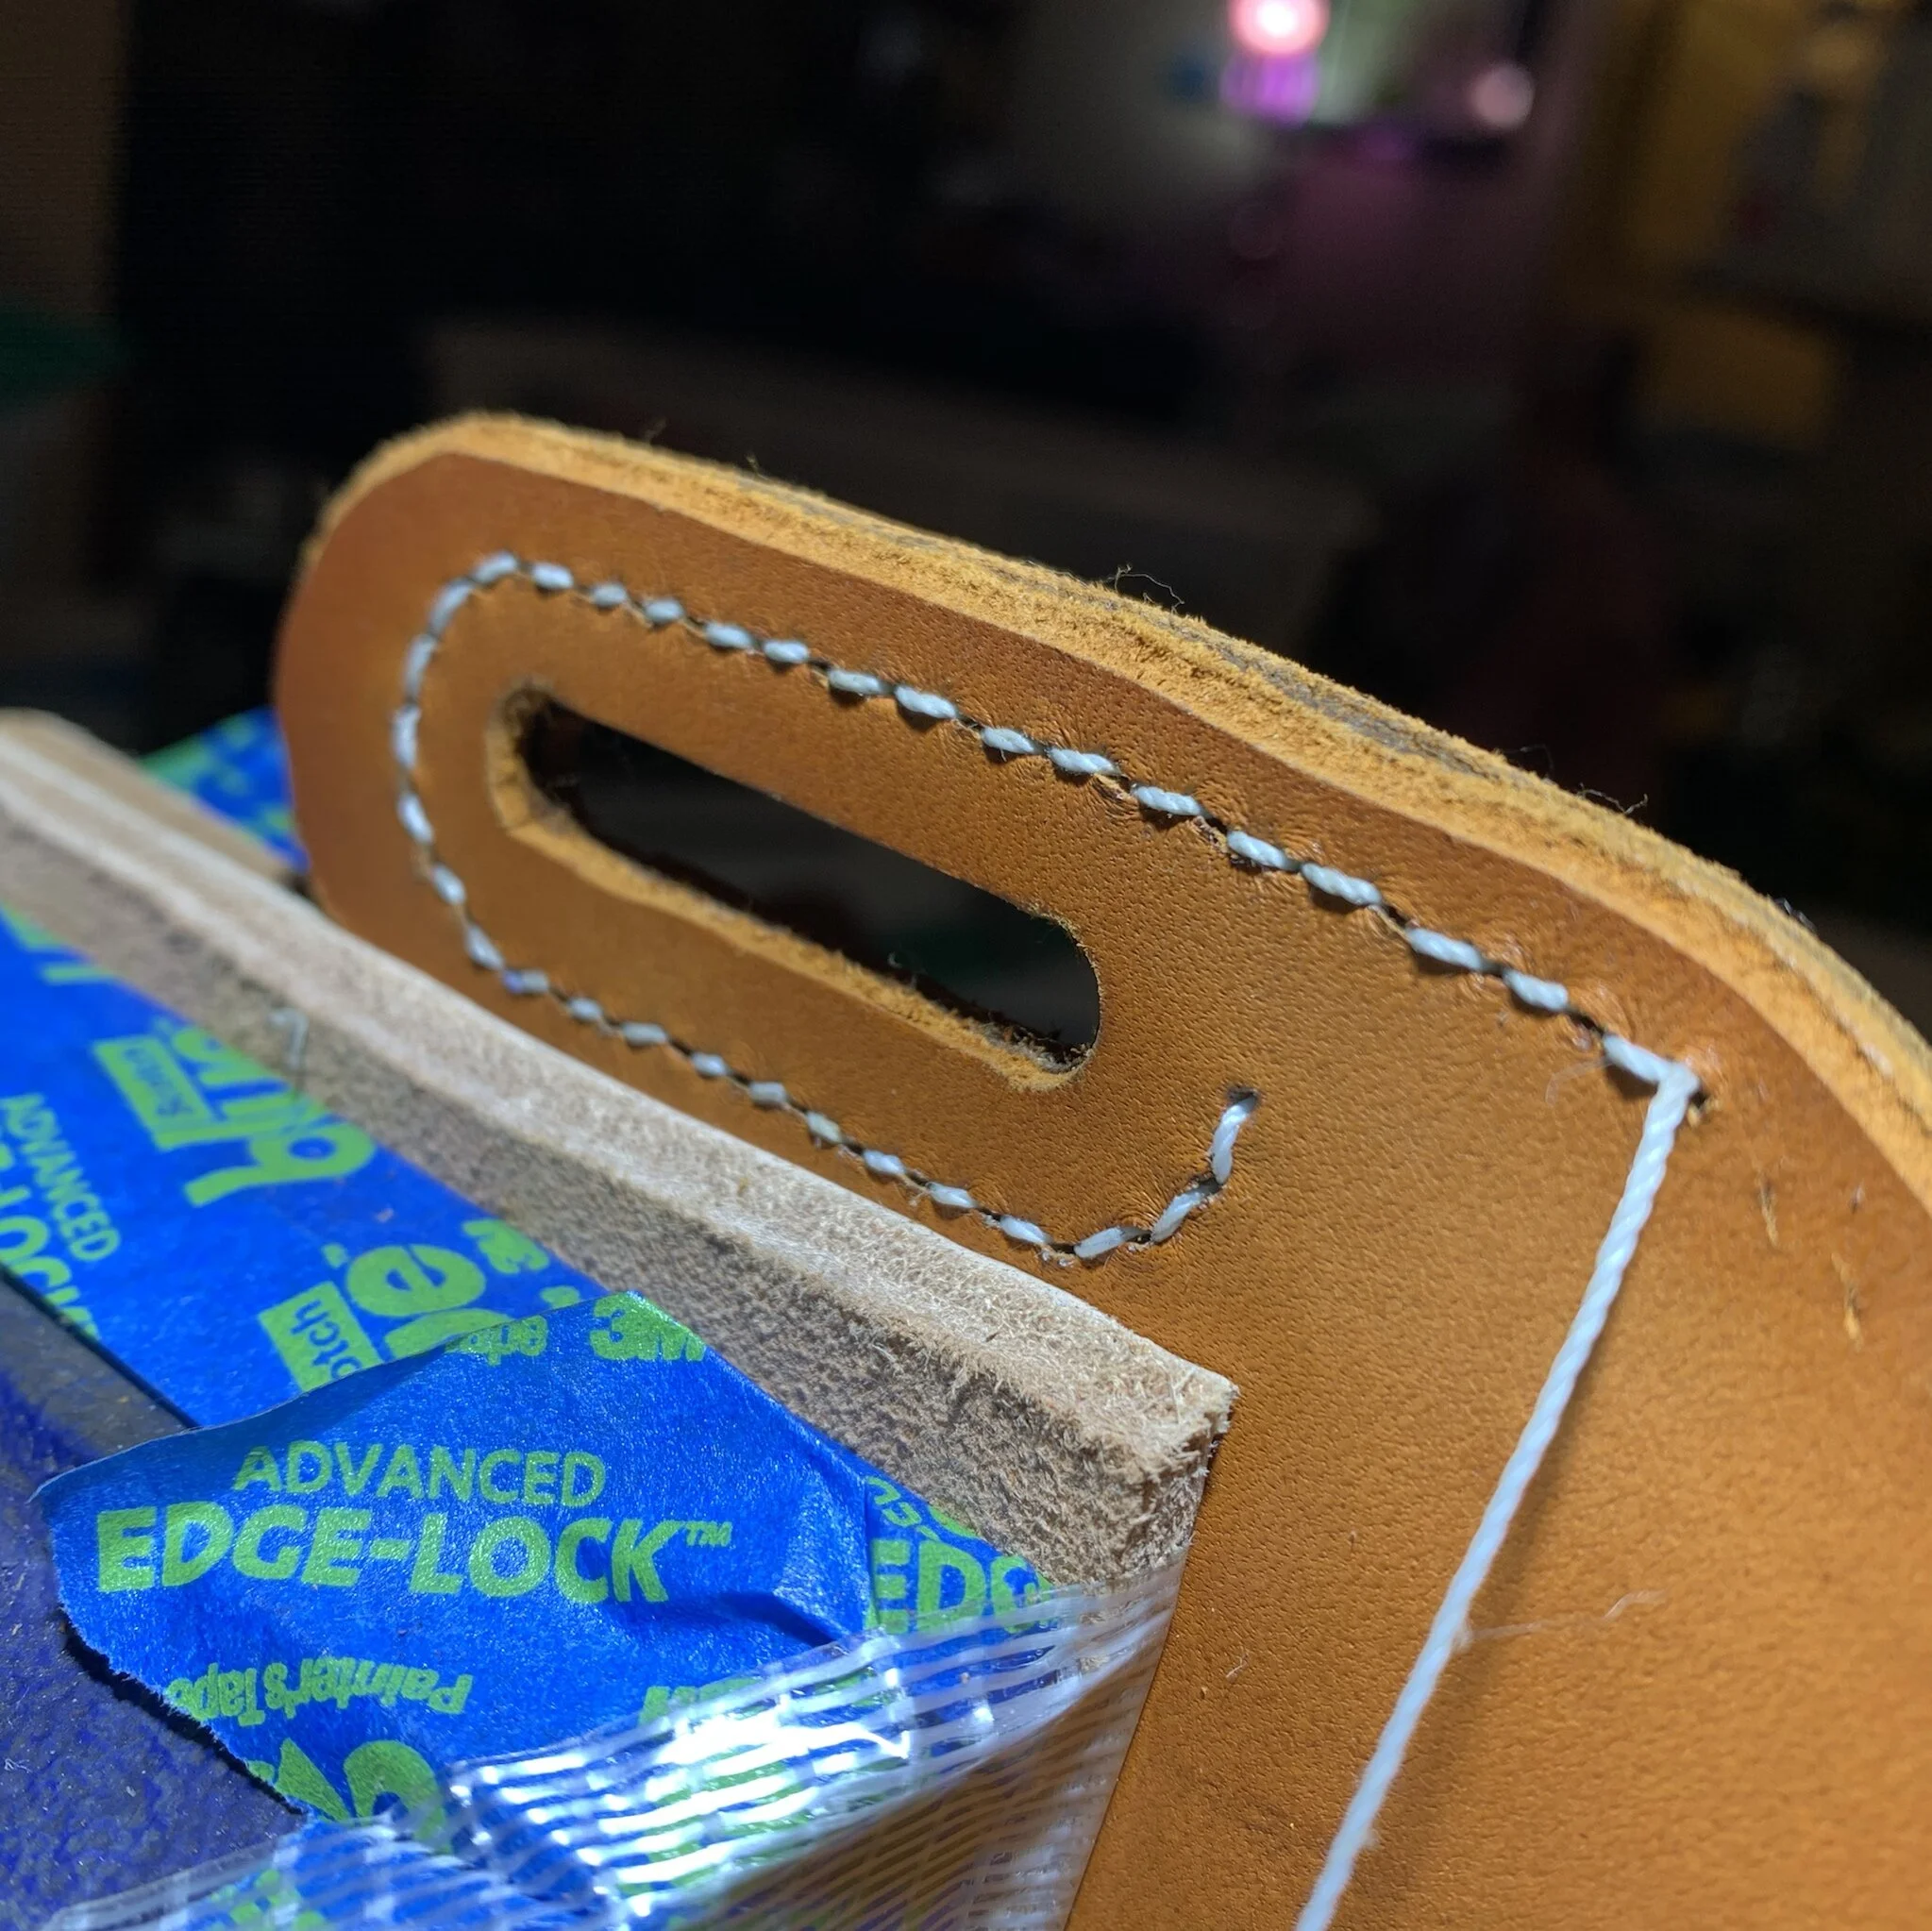

I use a simple saddle stitch. I measure about 7x the stitch length for the thread so I have enough left over just in case. Another thing I do is backstitch the four from the beginning, and four from the end. That way, I have plenty of backstitches in case there there is ever a stitch failure.
I perform the stitching after the dying, because I have had to touchup dyes before, and it can leach into white threads. The colored thread I mentioned earlier is a little more forgiving because it is heavily waxed. It does, however, require that you hit it with a lighter to melt the wax, fuse the stitches, and get rid of the pesky white tinge look from stitching.

If you want, now is the time to add your Fiebing’s EdgeKote. This rubbery coating can add to, or detract from the look and feel of the sheath. I masked my sheath on this example because I didn’t want the brown EdgeKote on the lighter tan elephant ear leather. I have since found that a few companies sell an applicator that makes it a ton easier. The one I have found to be ideal quality is the Tandy Leather Craftool Pro Edge Dye Roller.
Once dried, I apply Fiebing’s Neutral Leather Balm with Atomic Wax and buff. I think it looks good.
Finished Products


On the veneered sheath, the same process occurs as a 2 layer pancake, except that you cut a third out. You’ll want to remember to cut it out on whichever facing side you want to make your sheath. You can make this a left or right side carry, so think accordingly.
You’ll just apply the contact cement to the sides of the leather or veneer material that’ll contact together, and make sure to massage every surface to ensure contact. I use a flat faced hammer to gently tap on every surface to make sure there is contact.
In addition, whether you want to have threat lines show through the veneer, or be hidden underneath is up to you. I liked the look of this unadulterated elephant ear leather and the designs on the skin, so decided exposed stitches would take away from it.
In Conclusion
There are a million and one ways to skin a cat. Maybe in actually not that many…but the point of knife making and leather craft is to research and find out what’s out there, and experiment. Your order of operation on how you process your raw materials and get them to a finished state are up to you. What tools you use, largely up to you. The dyes and thread pattern are also up to you. The most fun and probably most daunting aspect to any craft is the learning curve. What I encourage you to do is not sacrifice quality for ease. If it takes longer, invest the time. If you take your time and think through every step, you’ll get closer to a favorable result than just winging everything and being satisfied with it looking like garbage. It might not all look the prettiest while you are going through your steps. Your cuts might look off, your dye might start off uneven, and your stitching can get off track quickly, but taking your time and triple checking your work goes a long way. You often can find a mistake and fix it if you analyze each step. But once you get done, the end result is the cumulation of a thousand mistakes. How many you make and how you fix them along the way determines the end result. Happy making!