Big things come in small knife packages

As a kid growing up in rural Pennsylvania, knives surrounded my existence. Whether it was my Pap’s slipjoint and lockback collection that I’d ogle every chance I got, or working knives that we’d use everywhere we saw fit, it seemed that they were just a part of my life like apple pie is to America.
Slipjoints, specifically, have always been part of my purview. As a young’n, I was gifted a muskrat trapper Buck knife that my grandparents had given me, but kept on a shelf in a jar until I was old enough to open it. It was a real nail ripper. When I finally came of age, I got it, cut myself on it, had it for a few years, then lost it. I loved that thing, with two identical trapper blades, bolsters and bone scales. As the years go by, I remember it fondly, but can never recollect the exact look of it. Sadly, I haven’t been able to find one to match the memory.
You might say that pocket knives and slips have been my constant companion, but more to the point, small knives have been. It may seem odd, because I feel like I grew into my hands over time, but I have meathooks for em. At 9” wide, spread from pinky to thumb, and 8” call, you’d think I’d gravitate to larger knives. But I don’t.
A lot of life experiences I’ve had surround hunting and fishing and mobility. I never was one to be weighed down by heavy things, shoes, clothes, gear, or the instruments I used to process game. So it may make sense to you that I often carried around something small that worked, and that was often a pocket knife.
Sure, I’ve been hiking and hunting 20+ miles in a day with a heavy pack, and probably walked the same distance in a day trout fishing in remote areas, with only a pole, a pocket full of hooks, and a cup full of worms. But out of the two types of experiences, I always felt more at home just doing a walk-about, and not have to worry about much. Mayne to my peril if something bad would have happened, but adventure captures the hearts of the blissfully unaware.
I’ve gained a reputation for producing small knives too, as I understand it. I am not sure why. Maybe it’s because I naturally gravitate to them, and feel more at home with the fit and finish, and knowing what makes a good, small knife feel like it’s an extension of one’s body. I imagine that it’s just a natural evolution of putting myself into my work, especially as I push into uncharted territories as a knifemaker. Specifically, in making my own slipjoints.
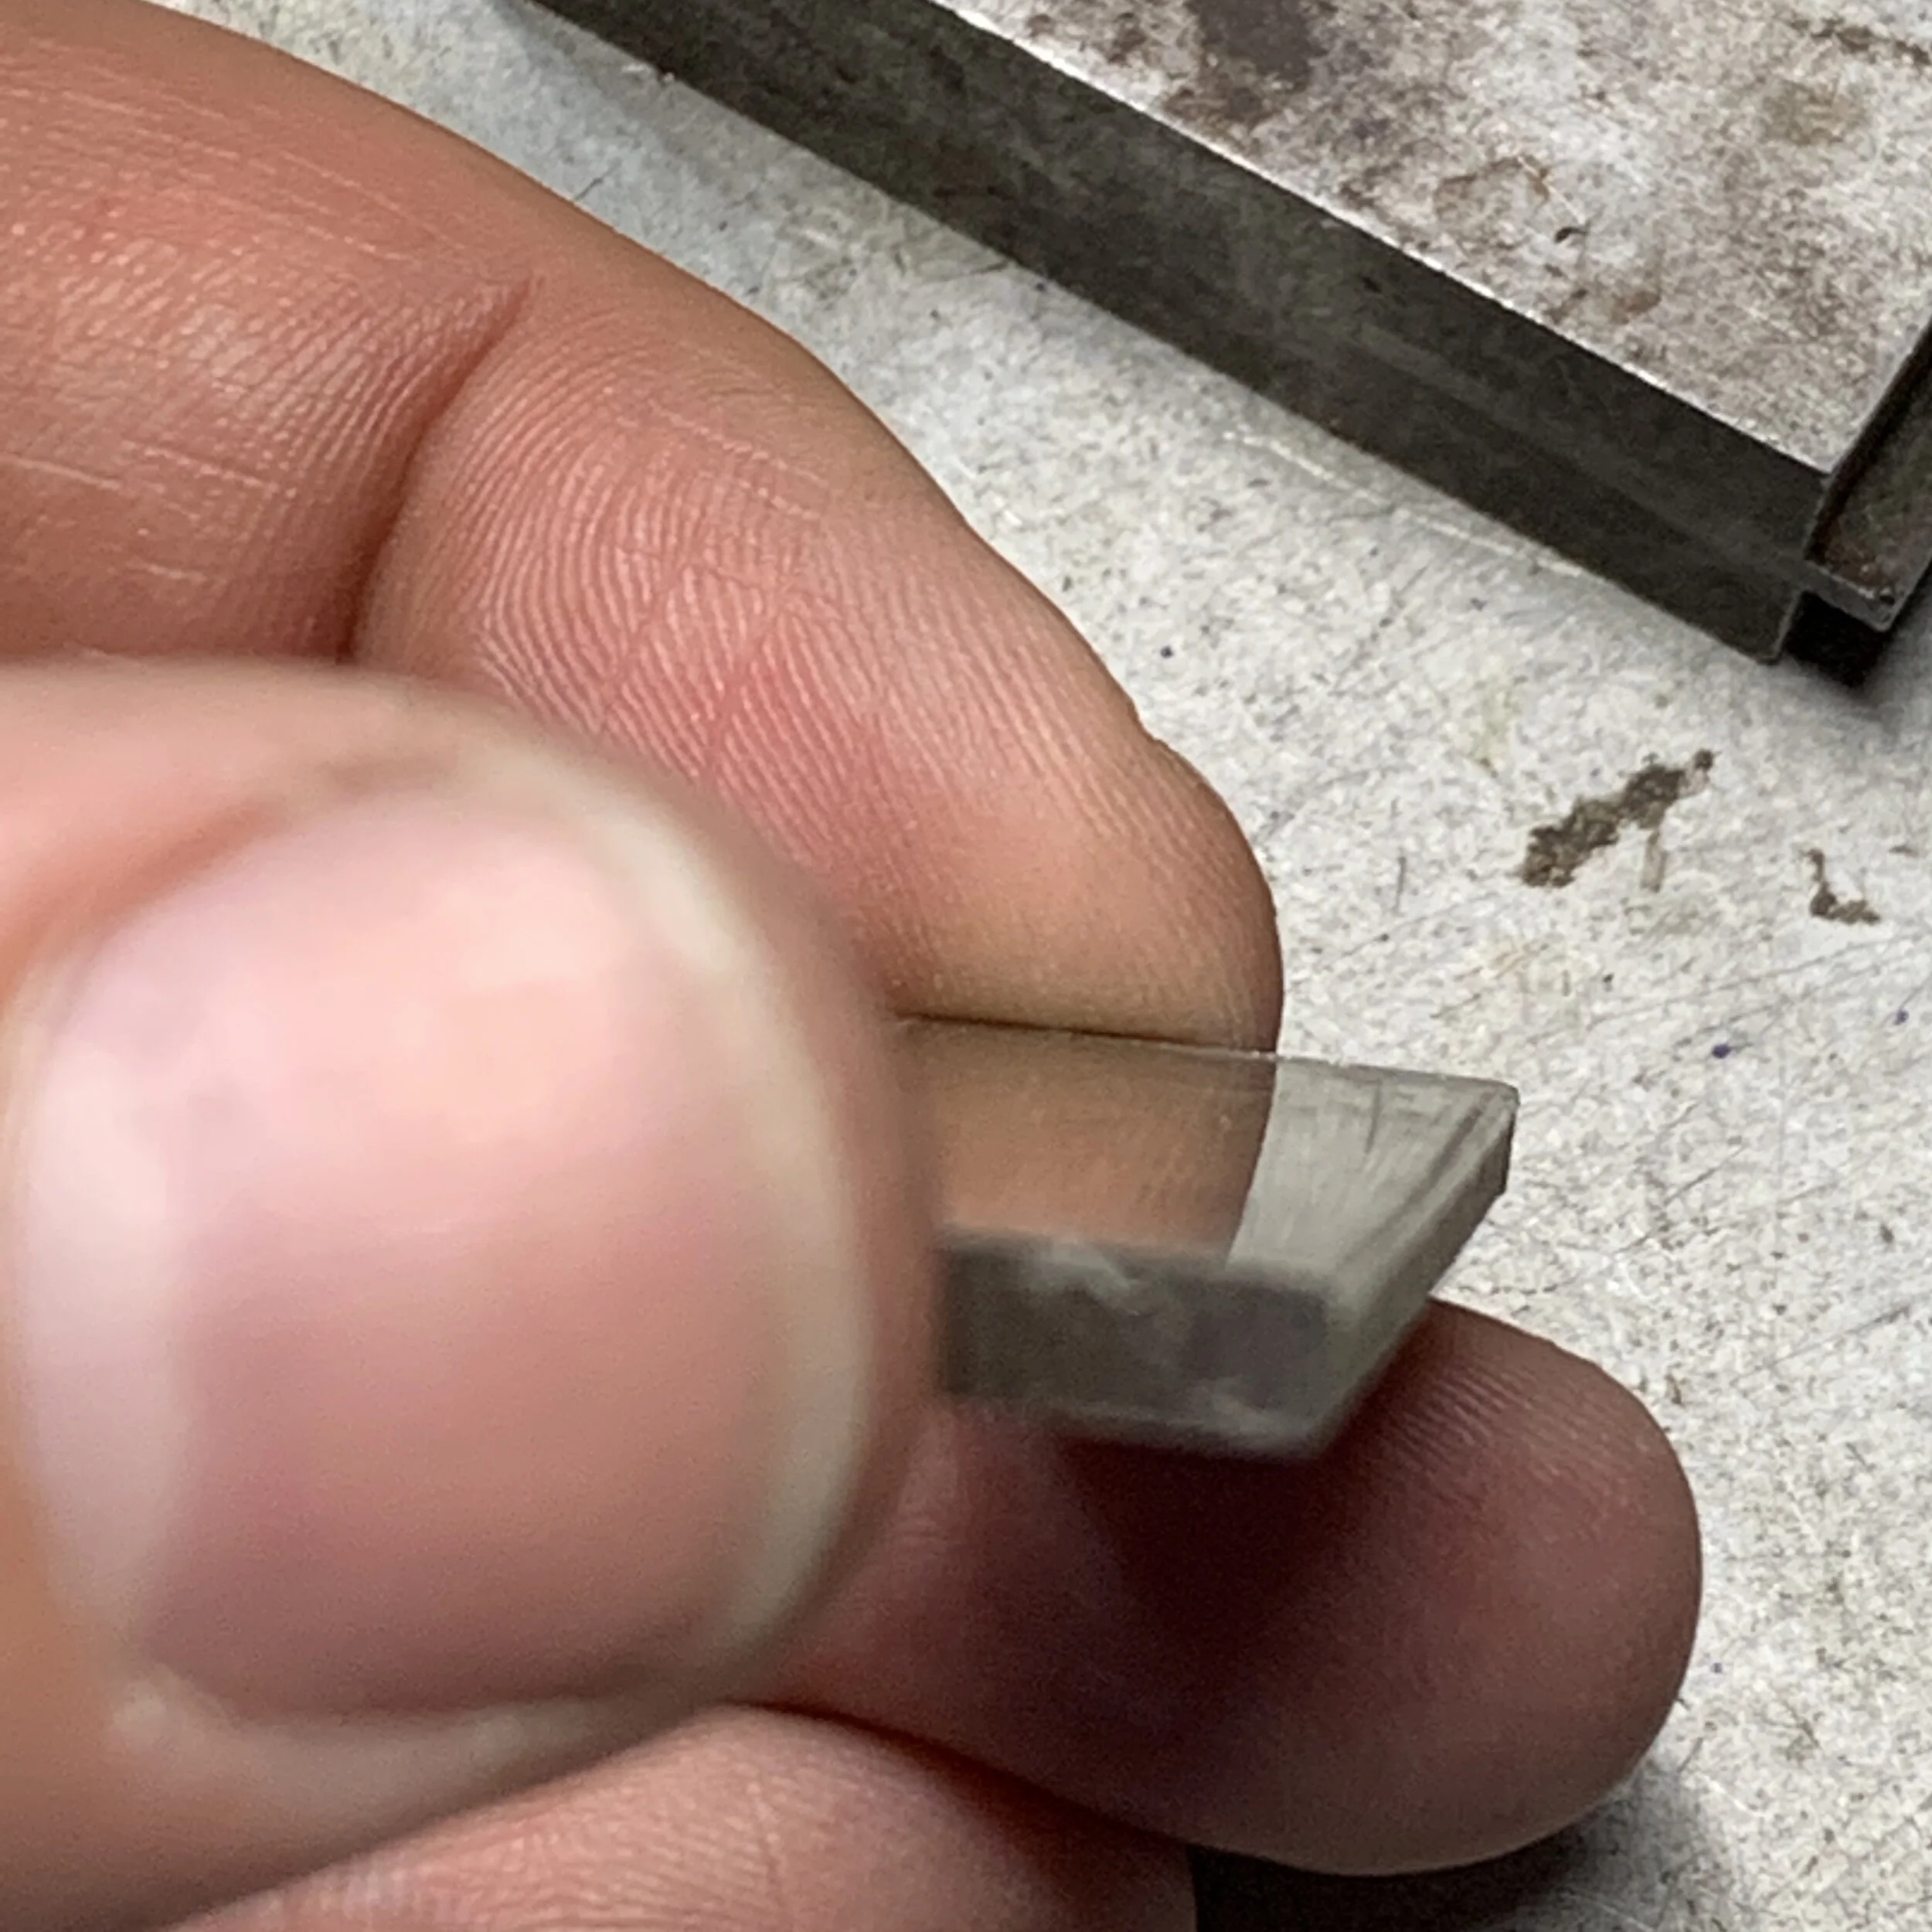
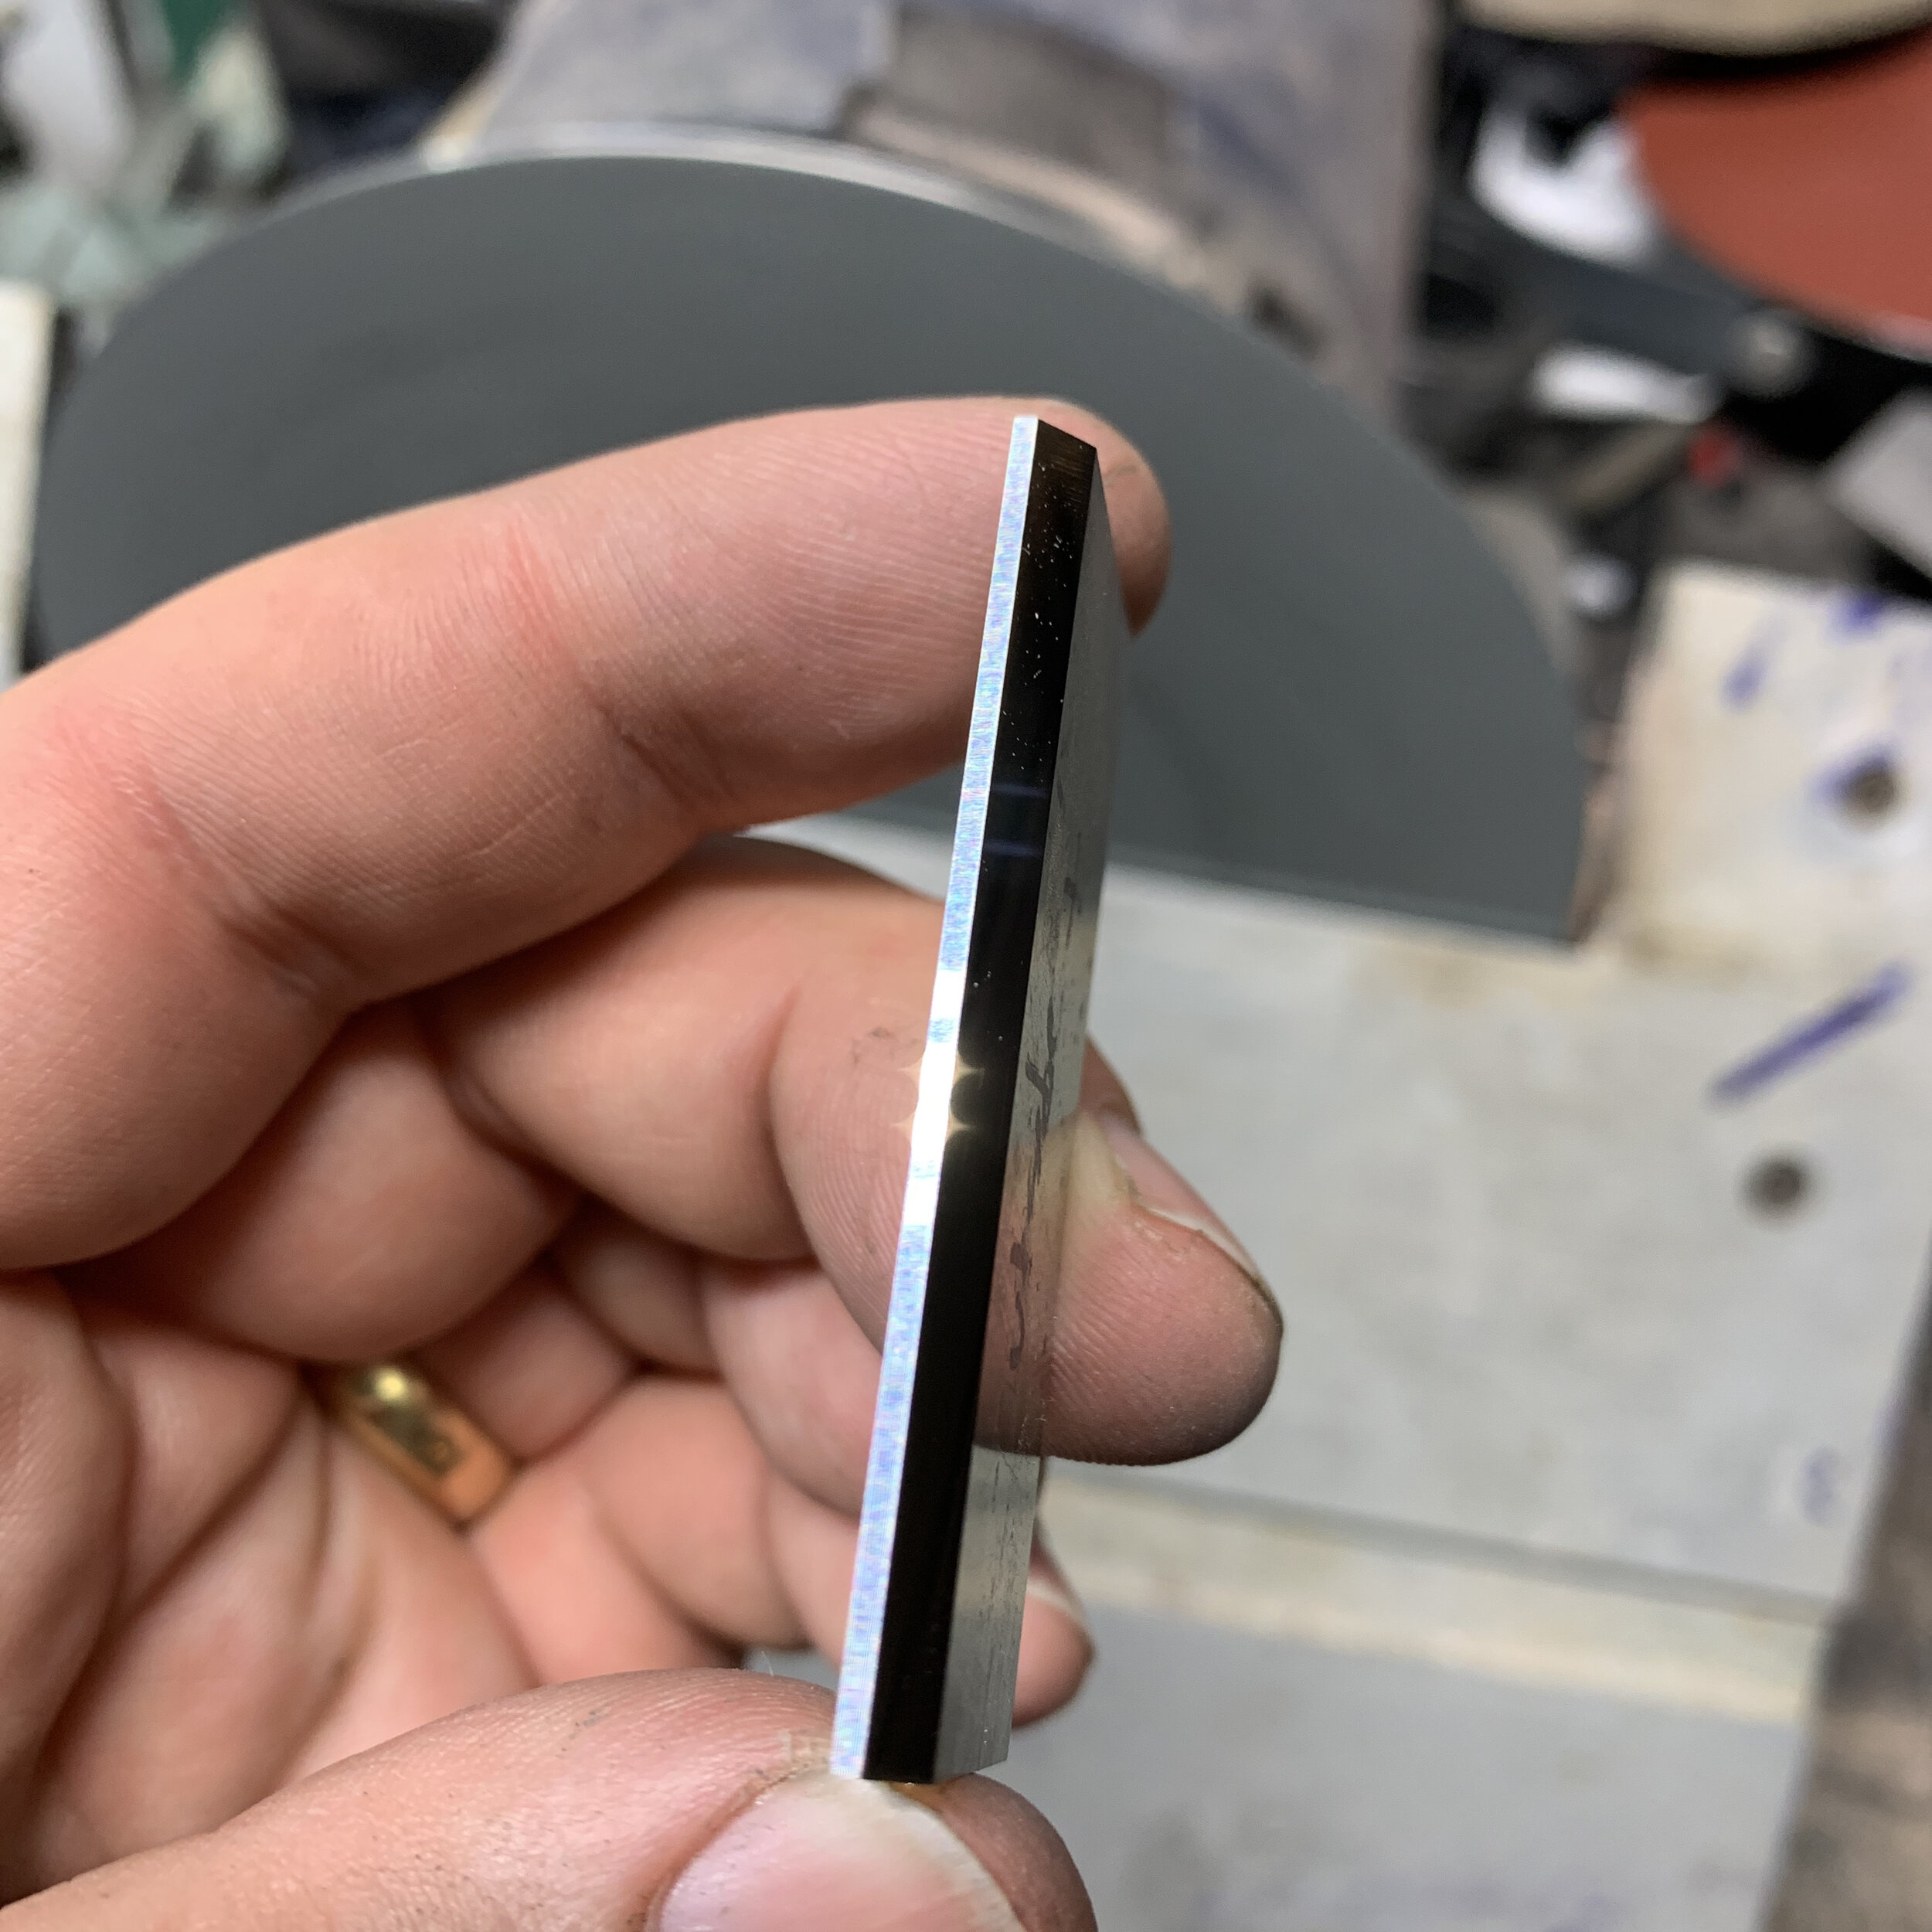
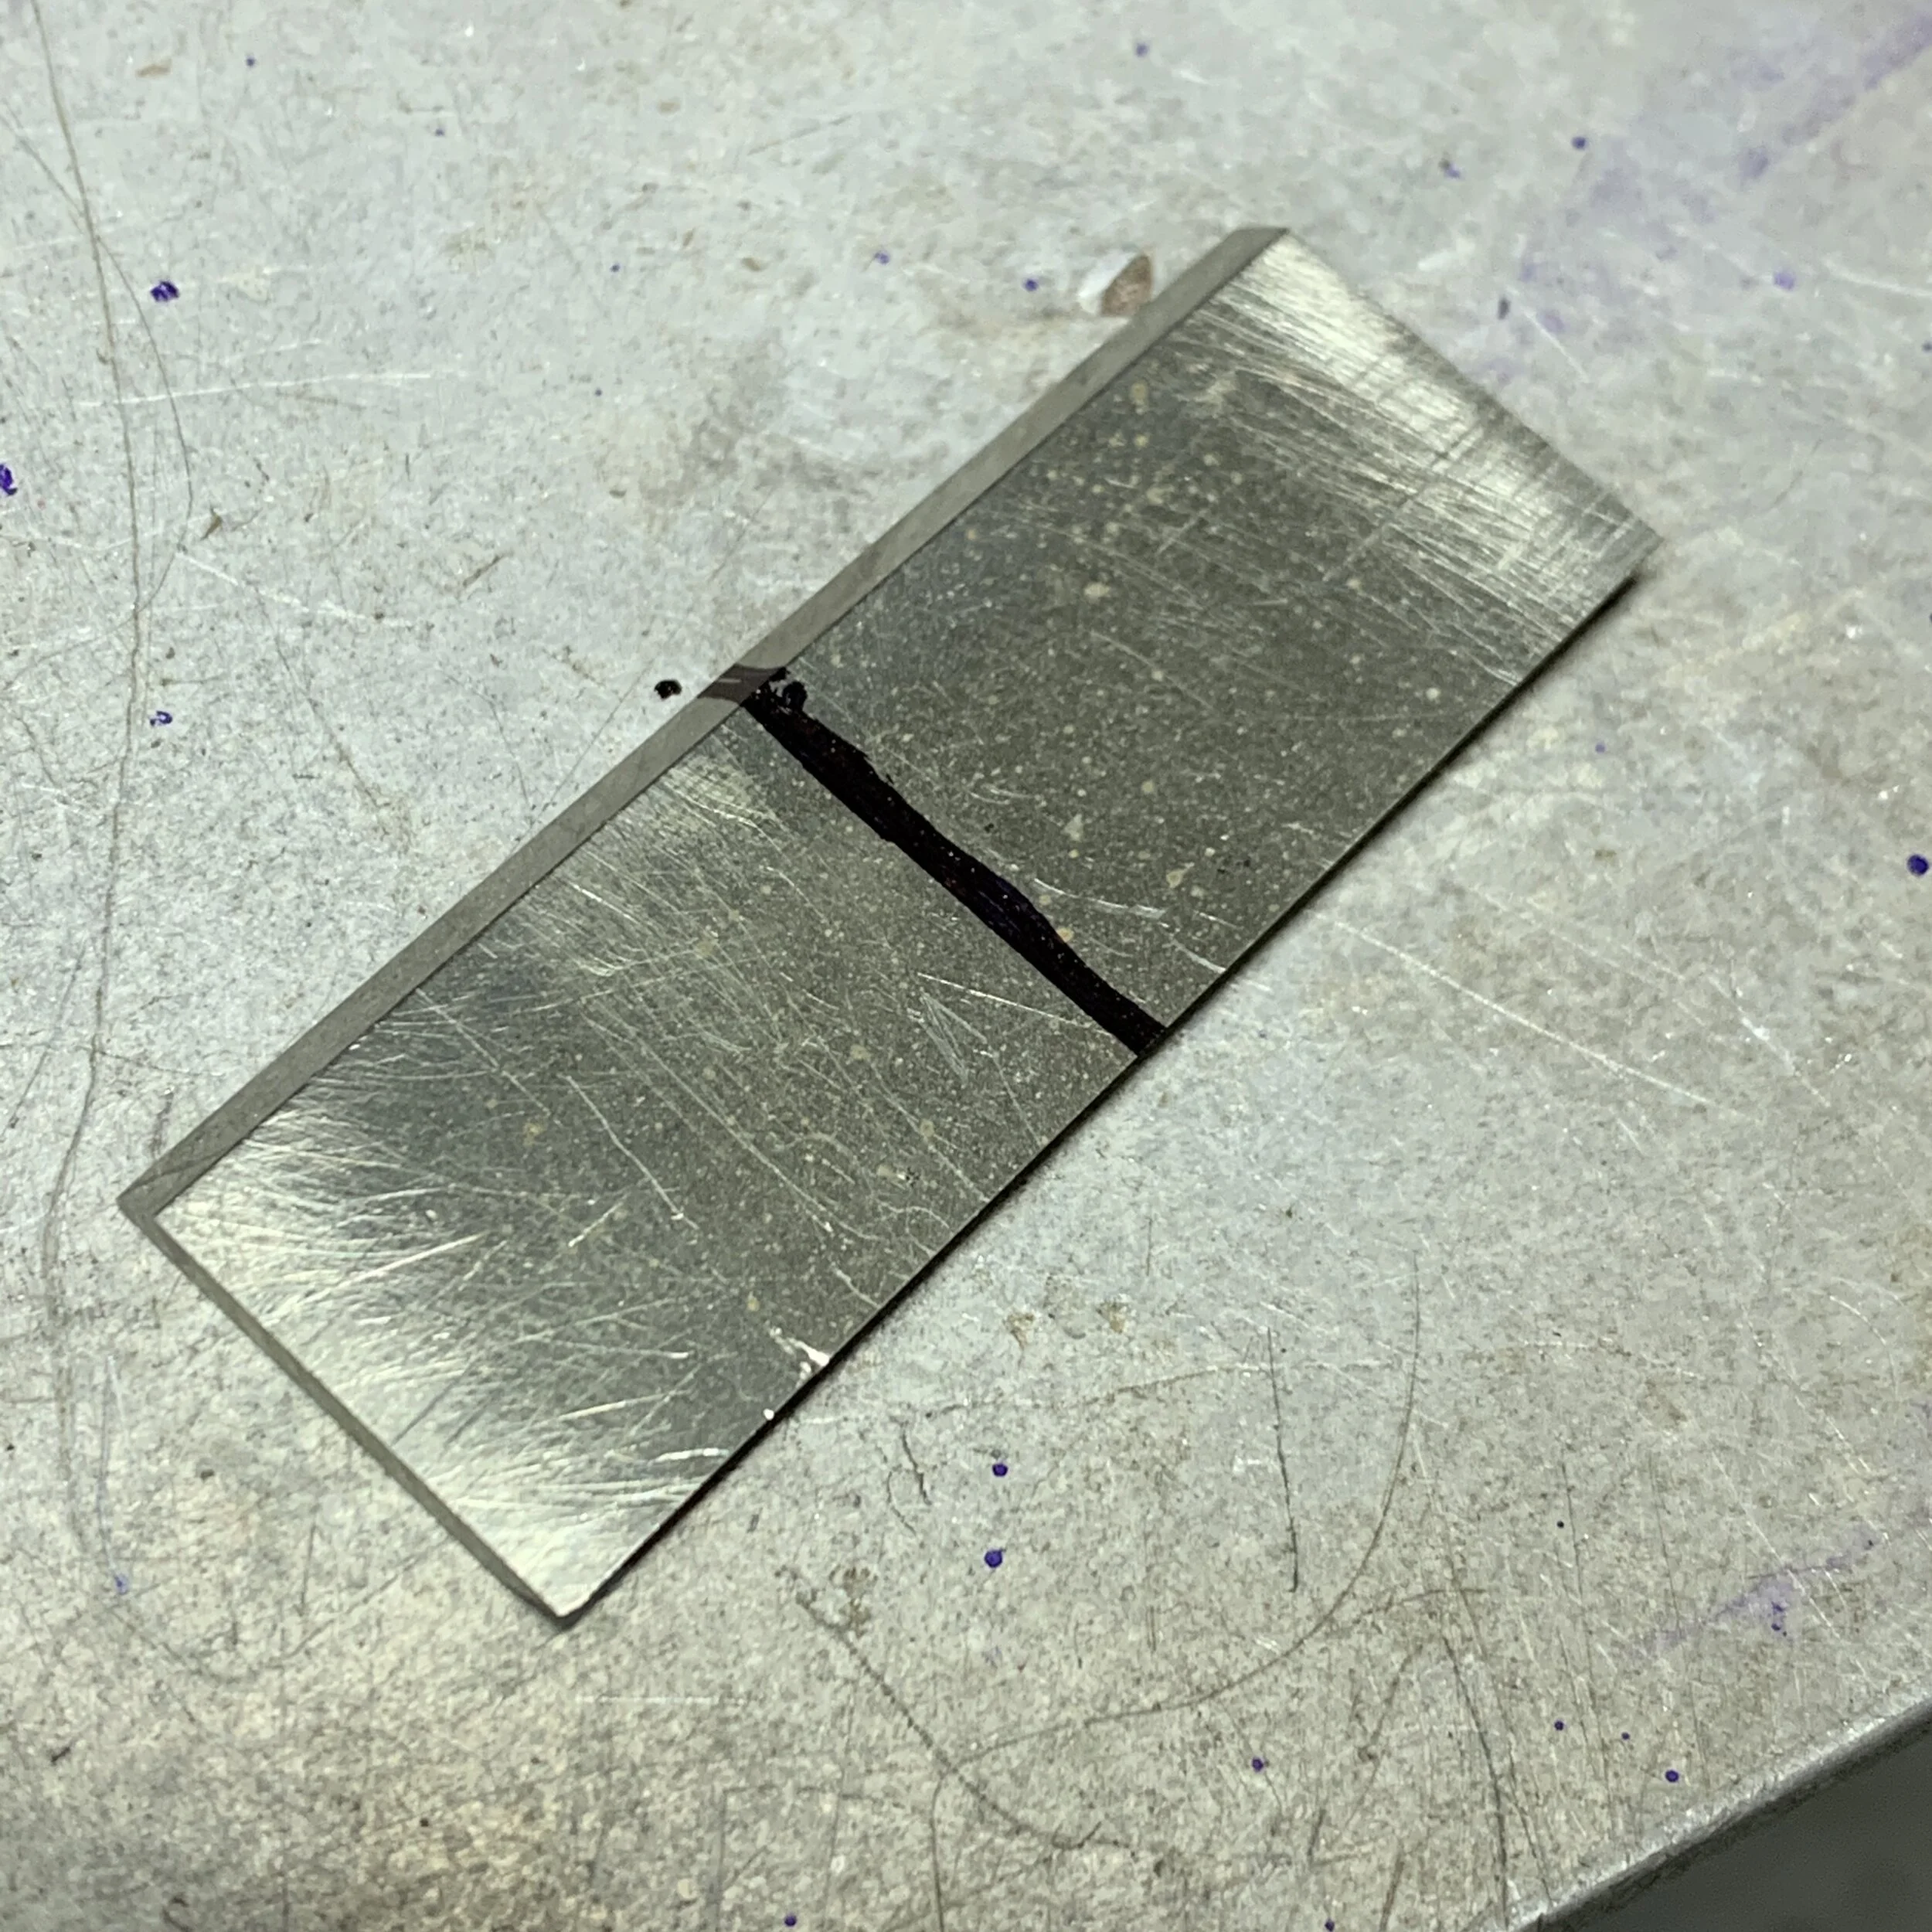
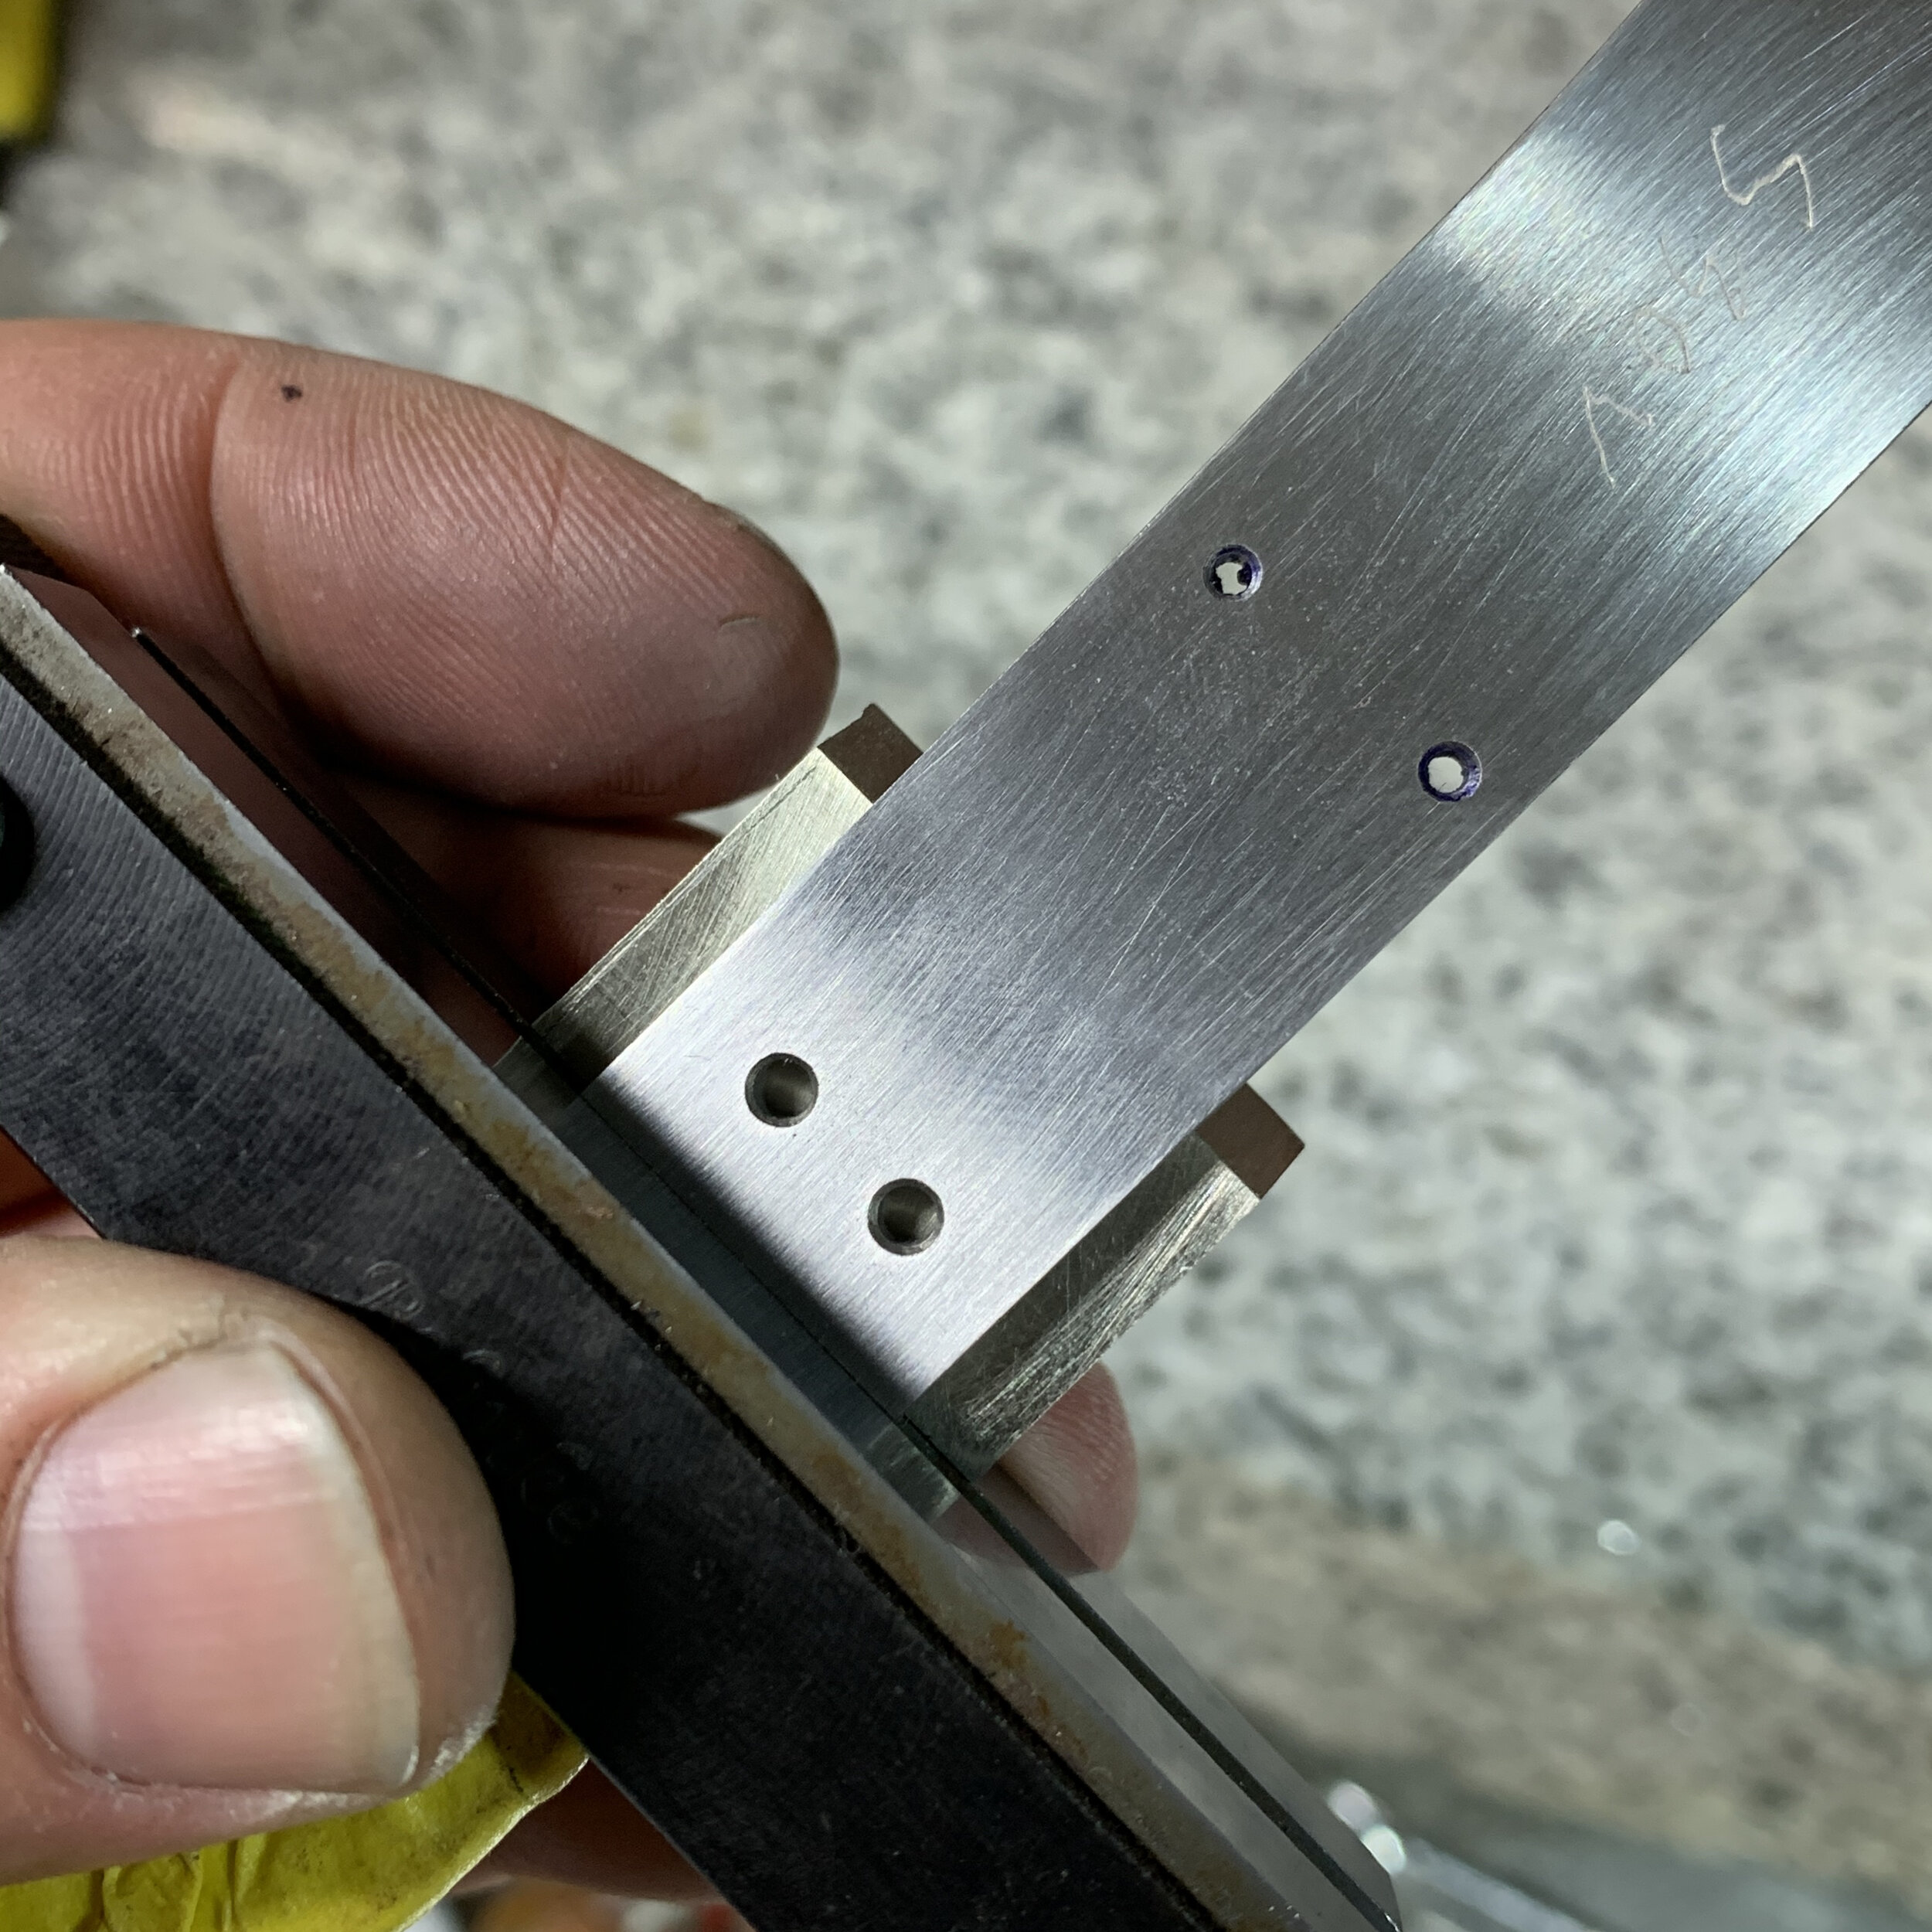
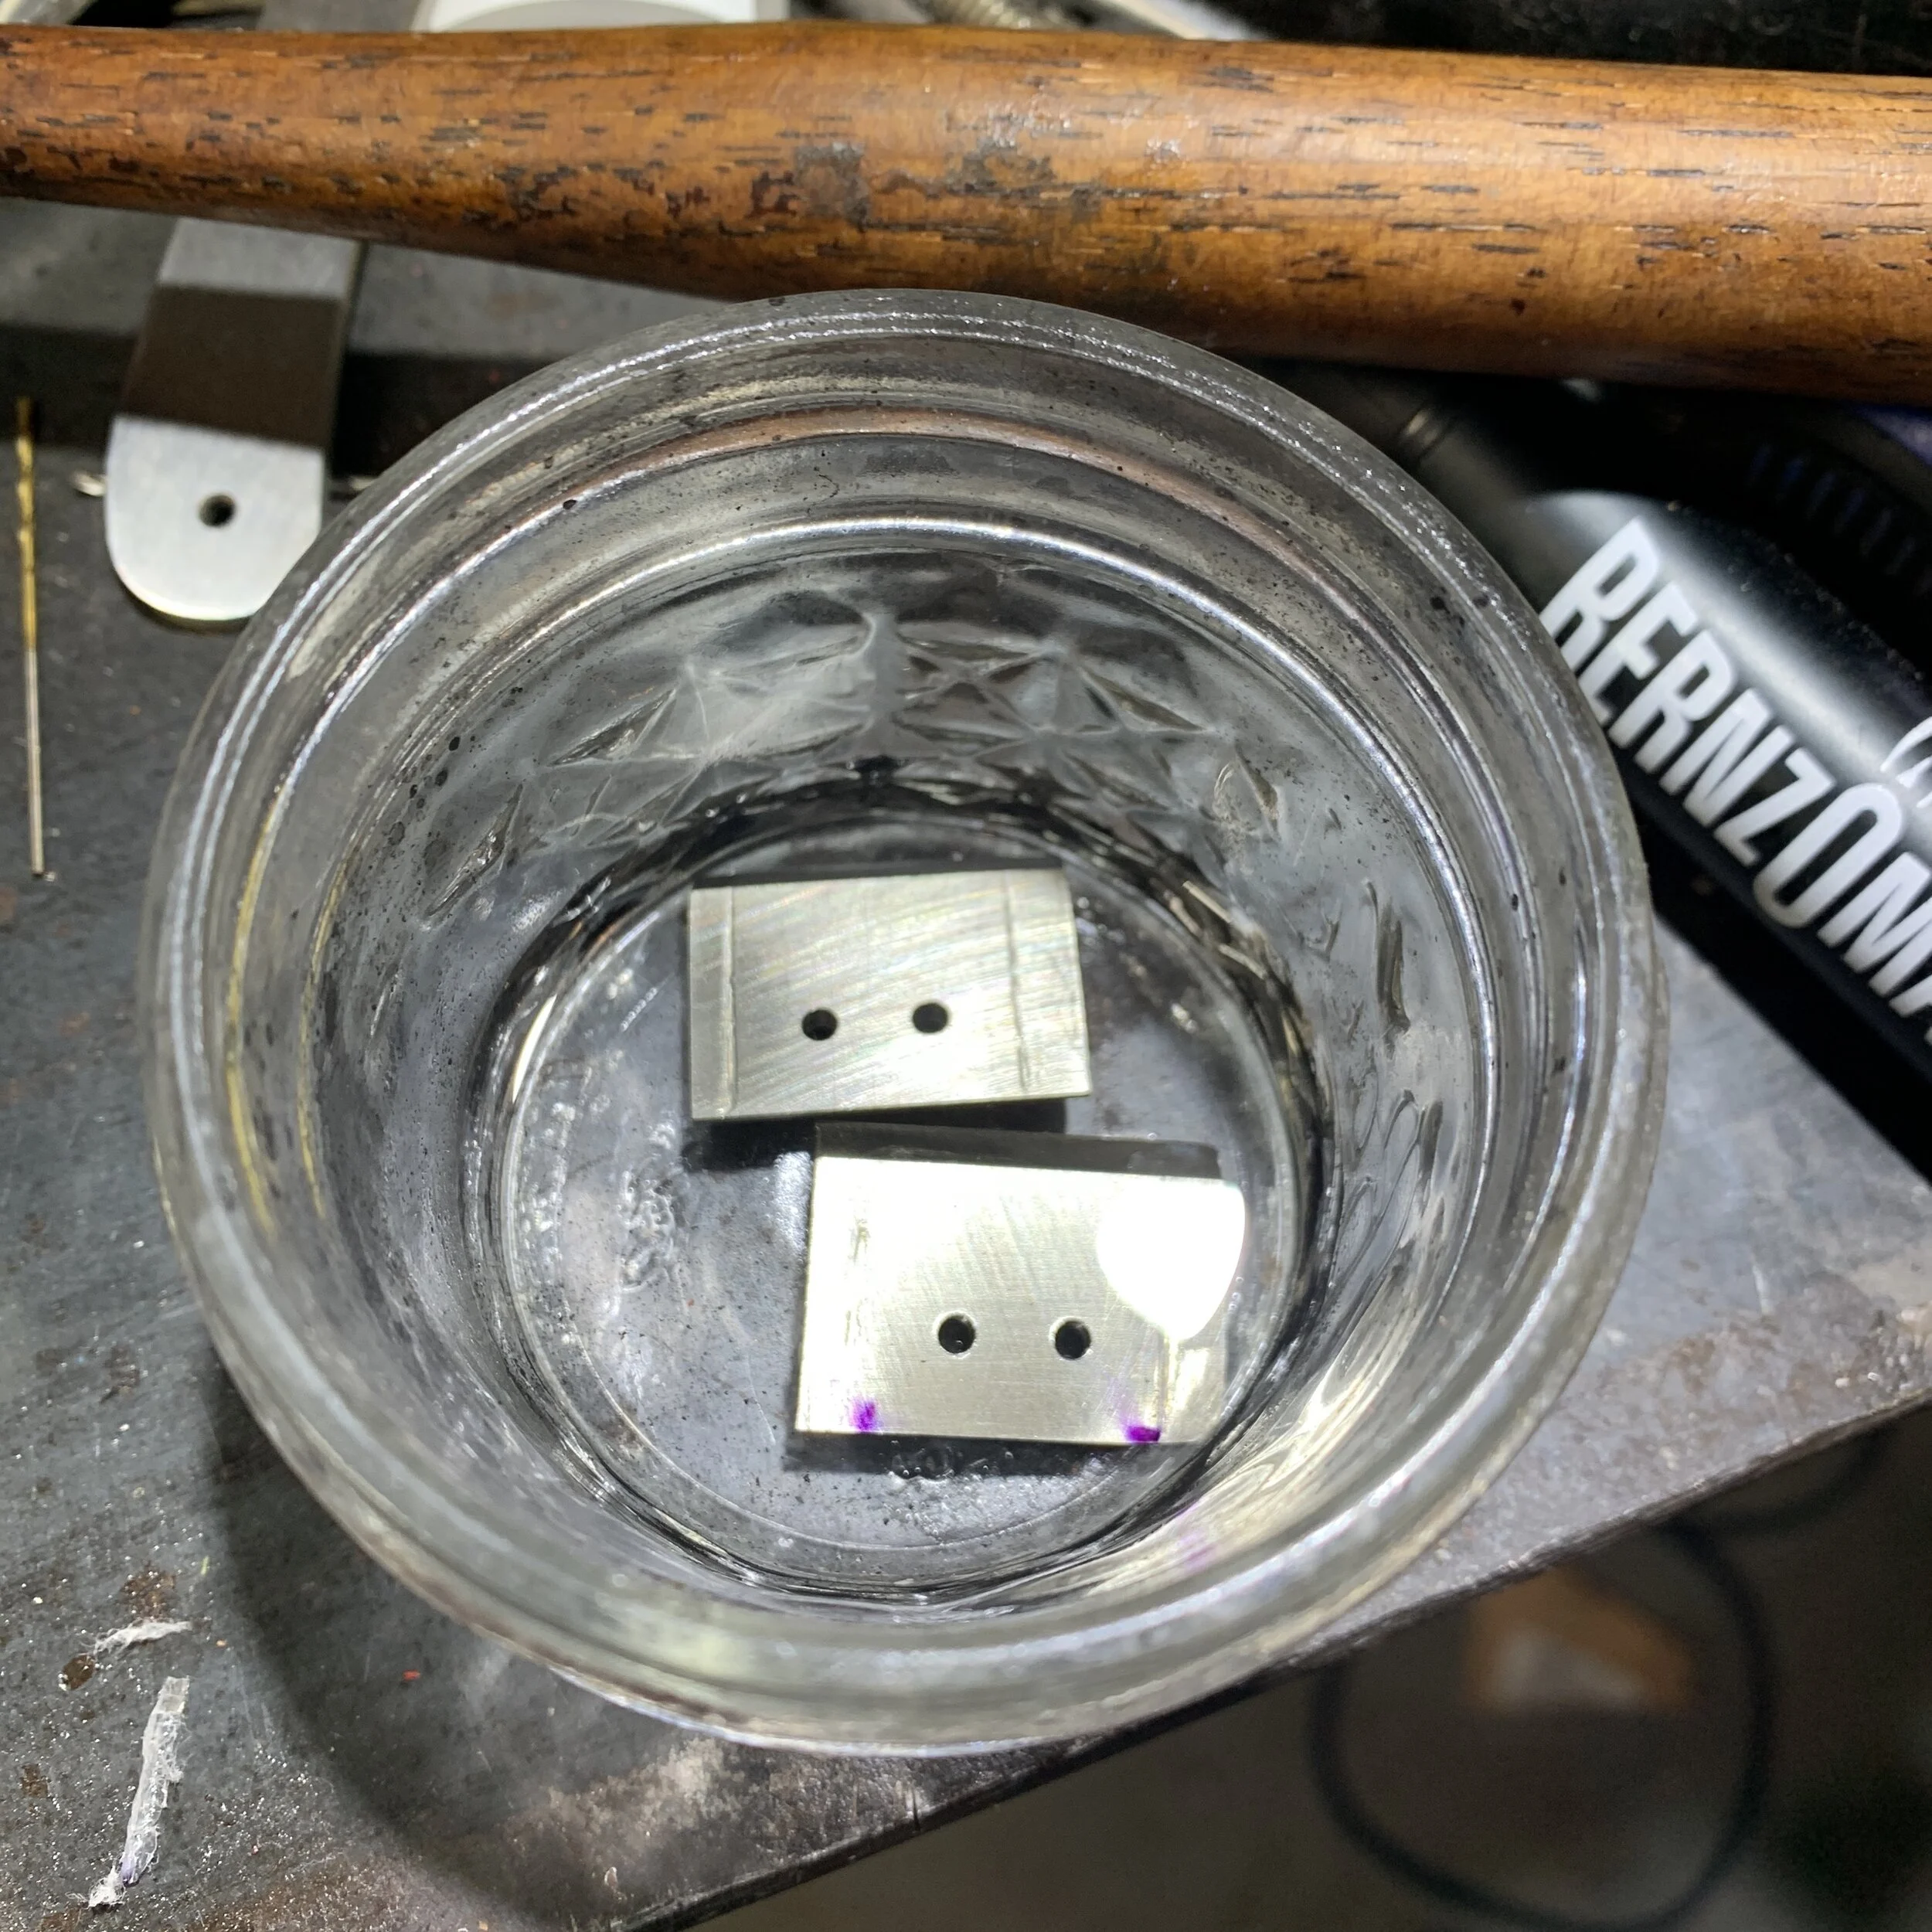
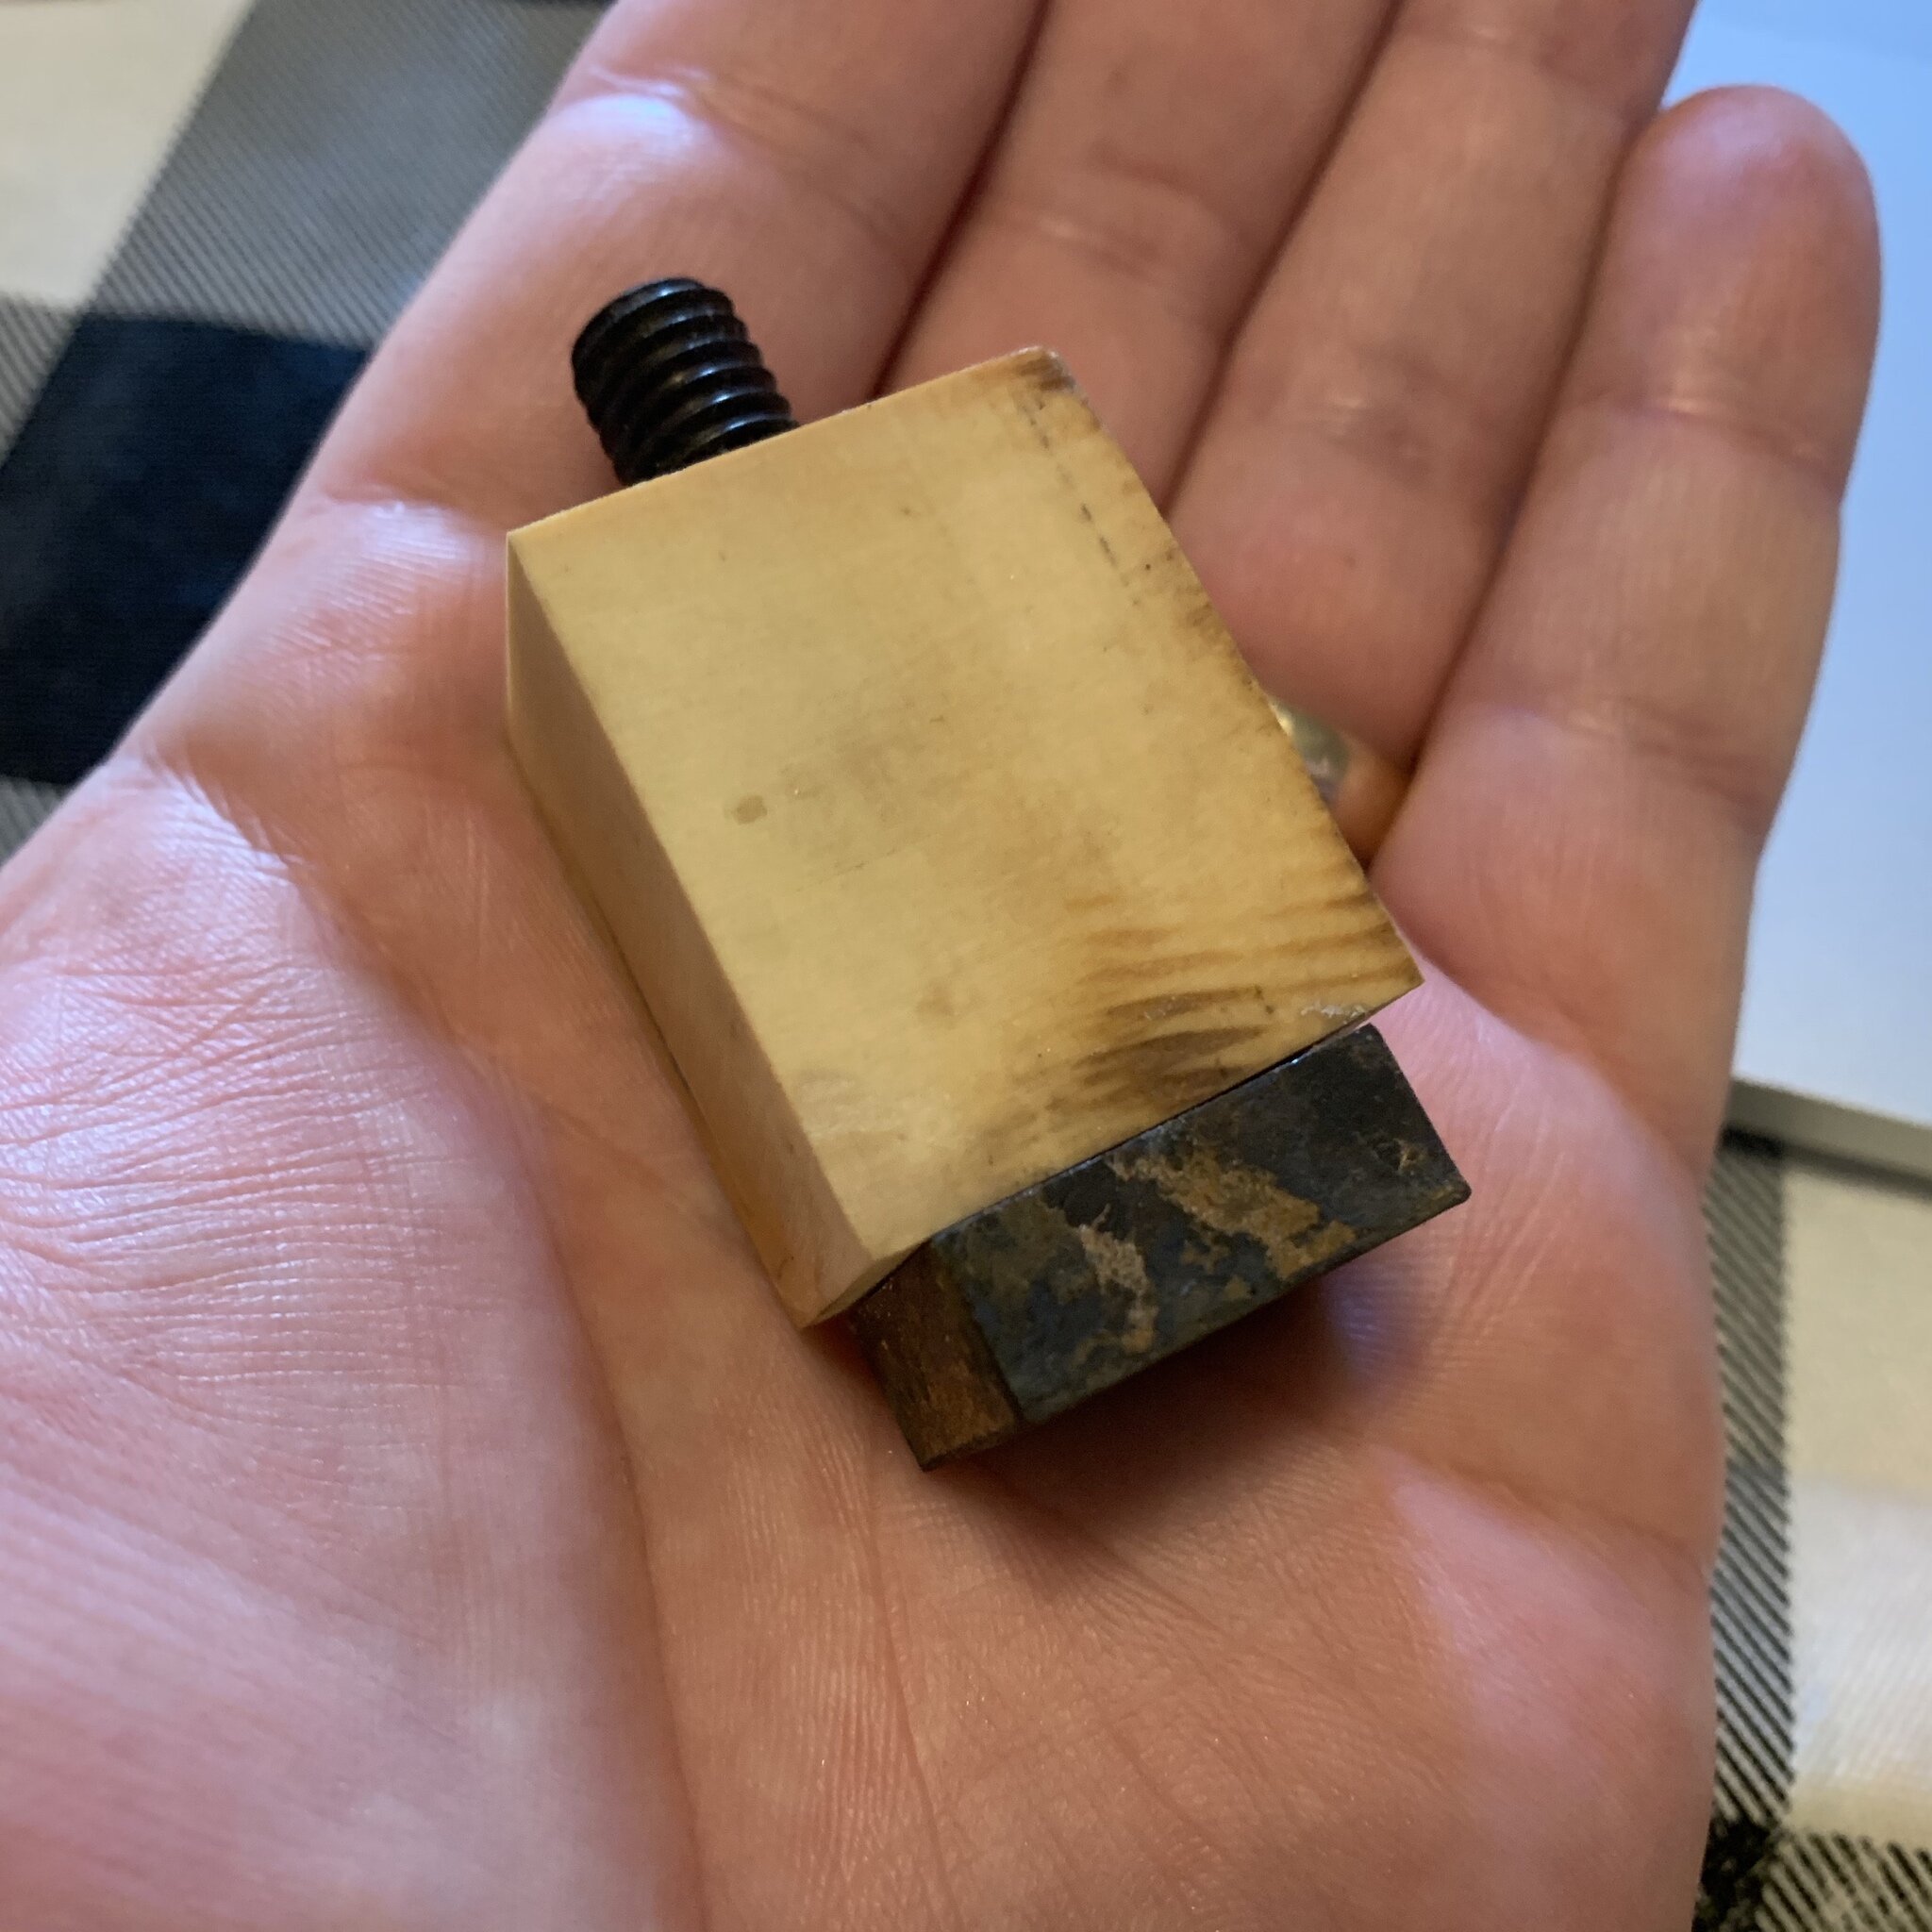
My latest endeavor has been to convert a fixed blade bird & trout design, that was part of a caping set design used in hunting and safari, by Clay Gault, and turning it a slipjoint that had the same fit and finish. If you know anything about making small knives, big hands aren’t exactly conducive towards the nuances, but I manage to get it done on my fixed blade, I just have to have a soft touch. For slipjoints, the idea stays the same, but the execution takes it to a whole other level of precision. The relationship of the spring to the tang of a knife in a slipjoint, combined with the aesthetics of being flush in all three positions (open, half, and closed), having the “walk-and-talk” that’s so customary of a slip, and making it feel right in the hand, are all balancing acts. Too much here, not enough there, ruins the effect. Luckily, I think I pulled off my first splitjoint pretty well (See above picture).
With time, I’ll be producing more of this design, and do some interesting things with it. I’m pushing the envelope of my machining ability by milling integral bolsters, with dovetails, in the near future. But, I feel like in my mind’s eye, there’s something I want to do with this design, and it’ll take me places that will probably frustrate the hell out of me, and also give the world a real perspective into what I see, when I think of a slipjoint.
As I delve into traditional designs as well, I hope to share my experiences with them, and obviously my finished work. I feel like a boy living my nature filled youth again, and it’s really a pleasure to make pocket knives, even if sometimes it’s hard to wrap these sausage fingers around my work.
Here’s a trout I caught in Wyoming to make your day better. I let it go, but if there’d been a bunch of buddies around, it’d definitely turned into a supper conversation mighty quick!
Until next time…